Check out a new Angular 4 Docker Example that has also been tested with Angular 6 here.
In this Hello-World-like tutorial, we will show how to run Angular 4 applications that have been created with Angular CLI in a Docker container. As an introduction, we will start running an existing, already dockerized example from Github. As a second step, we will create and dockerize our own Hello World app. We will verify our installation by testing the remote accessibility of the application on a CentOS Docker host on AWS.
Next time I plan to show how to tweak the Dockerfile, so it works also with Angular projects that have not been created with Angular CLI.
tl;dr
The fastest way I have found to dockerize an Angular application is to copy the Dockerfile and nginx/default.conf, into the project folder, remove the package-lock.json reference from Dockerfile, perform a docker build and a docker run. After that, the application running in a Docker container can be reached via the browser.
Tools and Versions used
- CentOS 7 image on AWS (t2.micro with 1 CPU, 1 GB RAM, and a manually added 2GB additional swap, because 1GB RAM is not sufficient for the build job. See the appendix)
- Docker version 17.09.0-ce, build afdb6d4
- git is installed (if not: sudo yum install -y git)
Phase 1 (optional): Docker Installation via Github Example
In this chapter, we make use of an existing Docker example /angular4-docker-example from Github. We will be able to create and run the example with following few commands:
Step 1.1: Clone Example Project from Github
We clone the project from Github:
$ git clone https://github.com/avatsaev/angular4-docker-example
$ cd angular4-docker-example
Step 1.2: Create Docker Image
Then we create the docker image:
$ docker build . --tag angular4-docker-example:v0.1
Step 1.3: Run the App
Now is the time to run the app:
$ docker run --rm --name angular4-docker-example -d -p 80:80 angular4-docker-example:v0.1
Step 1.4: Test it locally
We can test it locally:
$ curl localhost:4200
<!doctype html><html><head><meta charset="utf-8"><title>Myapp</title><base href="/"><meta name="viewport" content="width=device-width,initial-scale=1"><link rel="icon" type="image/x-icon" href="favicon.ico"><link href="styles.d41d8cd98f00b204e980.bundle.css" rel="stylesheet"/></head><body><app-root>Loading...</app-root>http://inline.5a1918ffa059c81333bd.bundle.jshttp://polyfills.c551d6b1e1d6192ebe54.bundle.jshttp://main.a7b2dfb807be711d1780.bundle.js</body></html>
Step 1.5: Test it remotely
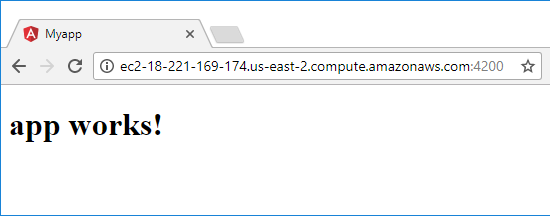
And the app works also when we access it remotely. For that, I have retrieved the public IPv4 DNS name from the EC2 AWS console
![]()
and copied it into the URL bar of the browser, appending the port 4200:

For this to work, I have chosen the security rules within AWS to allow accessing the port 4200 from my Home network:
![]()
That was easy. Thanks a lot to
Phase 2: Create Angular 4 Hello World Project
Okay, creating the app from a great example by
Step 2.1: Create Angular Hello World App
Let us create a hello world application using Angular CLI so we can perform all necessary changes needed to run Angular in a Docker container:
We are closely following the steps of Phase 1 of my blog post Behavior-Driven Development Example: Consuming a RESTful Web Service with Angular 4:
(dockerfile)$ alias cli='docker run -it --rm -w /app -v $(pwd):/app -p 4200:4200 -u $(id -u $(whoami)) oveits/angular-cli:1.4.3 $@'
Why this complicated user option
-u $(id -u $(whoami))? The reason is that
- omitting this option will lead to all new files will be created as root, so we will get permissions problems later on
- If we use ‚centos‘, then the container will complain that he does not find the user ‚centos‘ in its passwd file
- If we use the ID of centos, then it works. However, it might not work in all cases. This time, the ID of centos user is 1000, and by chance, a user (named ’node‘) exists on the container as well. But let us live with this uncertainty for now.
$ cli ng new angular-cli-hello-world-with-docker
Step 2.2: Install the Packages
$ cli npm i
Step 2.3: Run and Test the Service
The service can be started with an ng serve command:
$ cli ng serve --host 0.0.0.0
Step 2.4: Local Test
The local test is successful:
$ curl localhost:4200
<!doctype html><html lang="en"><head><meta charset="utf-8"><title>AngularCliHelloWorldWithDocker</title><base href="/"><meta name="viewport" content="width=device-width,initial-scale=1"><link rel="icon" type="image/x-icon" href="favicon.ico"><link href="styles.d41d8cd98f00b204e980.bundle.css" rel="stylesheet"/></head><body><app-root></app-root>http://inline.c1122970c69d0e49cb86.bundle.jshttp://polyfills.d8d3d78a4deb2ab66856.bundle.jshttp://main.3ff2f2cccb753b0aef42.bundle.js</body></html>
Step 2.5: Remote Test
After trying to open the application in a remote browser, we see:

There might be possibilities to resolve this, but our aim is to run the application in a Docker container, not via ng serve. So let us ignore this issue for now since it might not be relevant for the application if it runs in a container.
Phase 3: Dockerize the Angular Hello World App
Step 3.1: Add Dockerfile
Add Dockerfile from the example project above, i.e. you can download it from here:
### STAGE 1: Build ### # We label our stage as 'builder' FROM node:8-alpine as builder COPY package.jsonpackage-lock.json./ RUN npm set progress=false && npm config set depth 0 && npm cache clean --force ## Storing node modules on a separate layer will prevent unnecessary npm installs at each build RUN npm i && mkdir /ng-app && cp -R ./node_modules ./ng-app WORKDIR /ng-app COPY . . ## Build the angular app in production mode and store the artifacts in dist folder RUN $(npm bin)/ng build --prod --build-optimizer ### STAGE 2: Setup ### FROM nginx:1.13.3-alpine ## Copy our default nginx config COPY nginx/default.conf /etc/nginx/conf.d/ ## Remove default nginx website RUN rm -rf /usr/share/nginx/html/* ## From 'builder' stage copy over the artifacts in dist folder to default nginx public folder COPY --from=builder /ng-app/dist /usr/share/nginx/html CMD ["nginx", "-g", "daemon off;"]
We can see that the Docker build is designed as a two-stage process; a Docker feature that requires a newer version of Docker than the one I have used for months now. With the version described above, it works, though.
Step 3.2: Adapt Dockerfile
We have to adapt the Dockerfile a little bit: package-lock.json does not exist in our project, so we need to remove it from the COPY command in stage 1. This is the only change, we need to perform.
Step 3.3: Add NginX Config
In Stage 2, we can see that the default config is copied from an NginX directory, which does not exist in our case. Let us change that now and add the default config file:
$ mkdir nginx
$ vi nginx/default.conf
The content of nginx/default.conf is:
server {

  listen 80;

  sendfile on;

  default_type application/octet-stream;


  gzip on;
  gzip_http_version 1.1;
  gzip_disable      "MSIE [1-6]\.";
  gzip_min_length   256;
  gzip_vary         on;
  gzip_proxied      expired no-cache no-store private auth;
  gzip_types        text/plain text/css application/json application/javascript application/x-javascript text/xml application/xml application/xml+rss text/javascript;
  gzip_comp_level   9;


  root /usr/share/nginx/html;


  location / {
    try_files $uri $uri/ /index.html =404;
  }

}
Step 3.3: Build Docker image
With those changes, the docker build is successful:
$ docker build --tag oveits/angular-cli-hello-world-with-docker:v0.1 .
Sending build context to Docker daemon  237.6MB
Step 1/12 : FROM node:8-alpine as builder
 ---> b7e15c83cdaf
...
Step 12/12 : CMD nginx -g daemon off;
 ---> Using cache
 ---> 2fa5d6c8e5da
Successfully built 2fa5d6c8e5da
Successfully tagged oveits/angular-cli-hello-world-with-docker:v0.1
Step 3.4: Push the Docker Image to Docker Hub
If the development machine is not the same machine you run the container on, we now need to push the image to Docker Hub. For that, we need to login first:
$ docker login
Username: oveits
Password: <my password>
For convenience, we have tagged the image also with the latest tag:
$ docker tag oveits/angular-cli-hello-world-with-docker:v0.1 oveits/angular-cli-hello-world-with-docker:latest
Then we can push the image, once for the tag v0.1, and a second time with the latest tag
$ docker push oveits/angular-cli-hello-world-with-docker:v0.1
$ docker push oveits/angular-cli-hello-world-with-docker
Step 3.4: Run the App
Now is the time to run the app. This can be done on any Docker host. The image will be downloaded automatically.
$ alias webapp='docker run --rm --name angular-cli-hello-world-with-docker-example -d -p 80:80 oveits/angular-cli-hello-world-with-docker $@'
$ webapp
1bc275d1d906fc5b63ace92ea20ec7b27c7de0ba3663c186122b30ead3a076d5
I have chosen port 80 to map on container port 80, since, at the end of the day, I do not want my customers to be forced to use custom ports, as long as I have not implemented proper load balancing on AWS.
We can verify that the container is running:
$ docker ps
CONTAINER ID        IMAGE                                        COMMAND                  CREATED             STATUS              PORTS                  NAMES
91481fcec020        oveits/angular-cli-hello-world-with-docker   "nginx -g 'daemon ..."   5 seconds ago       Up 3 seconds        0.0.0.0:80->80/tcp     angular-cli-hello-world-with-docker-example
Step 3.5: Local test
The local test is successful:
$ curl localhost
<!doctype html><html lang="en"><head><meta charset="utf-8"><title>AngularCliHelloWorldWithDocker</title><base href="/"><meta name="viewport" content="width=device-width,initial-scale=1"><link rel="icon" type="image/x-icon" href="favicon.ico"><link href="styles.d41d8cd98f00b204e980.bundle.css" rel="stylesheet"/></head><body><app-root></app-root>http://inline.c1122970c69d0e49cb86.bundle.jshttp://polyfills.d8d3d78a4deb2ab66856.bundle.jshttp://main.3ff2f2cccb753b0aef42.bundle.js</body></html>
Step 3.6: Remote Test
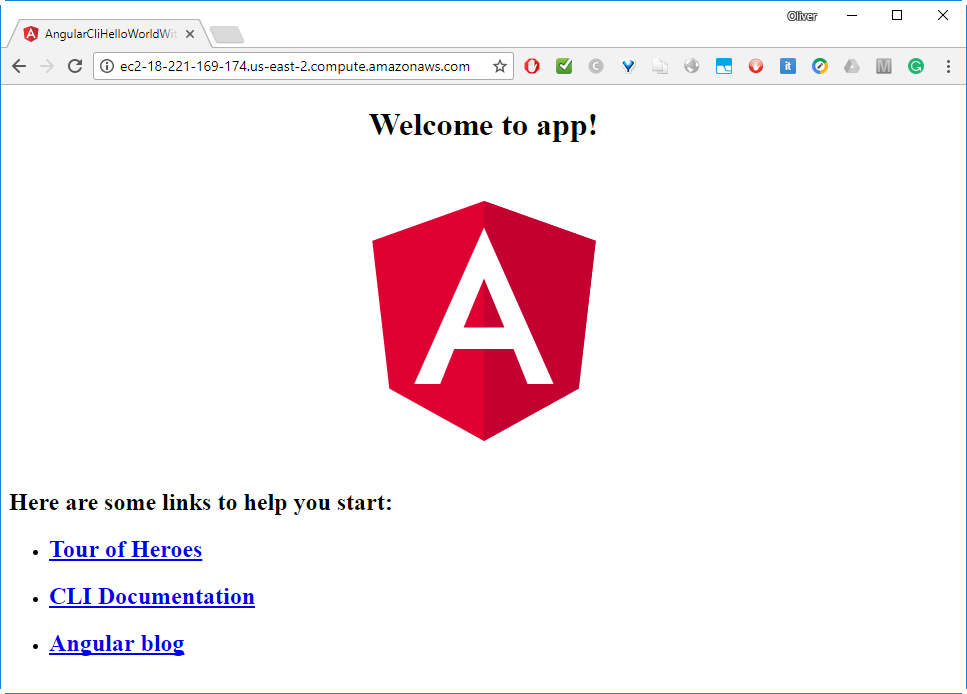
As with the example in phase 1, we expect the application to be available remotely:

Perfect! Different from running the application with ng serve --host 0.0.0.0 the application is also available remotely. We have fixed the „Invalid Host Header“ issue by dockerizing our application.
Angular is running in a Docker container.
Summary
We have created and run a dockerized Angular 4 example by . This has worked like a charm without any adaptations.
As a second step, we have created our own Angular Hello World application and we have applied the necessary changes to create a Docker image. We have found that the only measures needed to dockerize the application was to copy and slightly adapt the Dockerfile and the NginX default configuration file from avatsaev great example before we build the image.
Note, that we had got an „Invalid Host Header“ response in the local browser when we were running the application with the ng serve --host 0.0.0.0 command on a Docker host on AWS. Dockerizing our application has fixed that issue. Our application is fully accessible from the outside world when running on a Docker host on AWS.