In this blog post, we will be testing the Hetzner Cloud API. As a „Hello World“ example, we will learn how to add an API key to a project and use the API key to do the following:
- add an ssh key
- create, read and delete a server.
On a previous blog post, we have explored the new Hetzner Cloud Service. While not being comparable with AWS in terms of features and completeness of the offer, we have seen that you can rent virtual machines at very competitive prices. Hetzner Cloud offers a REST API that we will use to automate the infrastructure.
In this blog post, we will use simple cURL commands to explore the API.
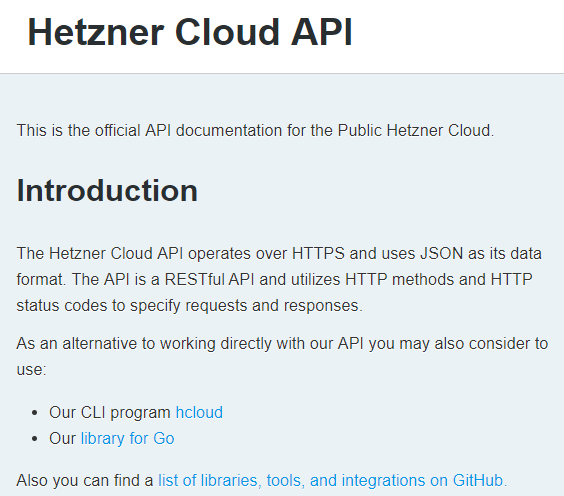
Hetzner Cloud API: The official Documentation
The documentation of the API can be found here (click the screenshot image below):
Now let us get started…
Step 0: Register with Hetzner Cloud
After you have registered with Hetzner Cloud, there are two more steps that we need need to be performed manually on the graphical user interface, before we can start with the infrastructure automation:
- creating a project
- creating an API token.
Let us start:
Step 1: Create Test Project
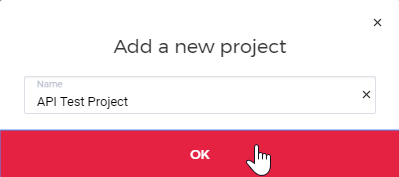
Login to Hetzner Cloud and create a new Project.
![]()
I have called my project „API Test Project“:
Step 2: Create Hetzner Cloud API Token
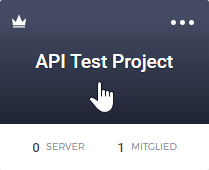
To create an API Token, enter the project:
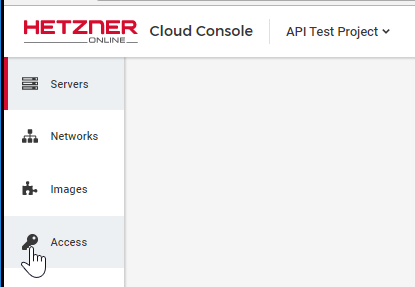
In the left pane, choose access:
and then choose API TOKENS:

–> Generate API Token
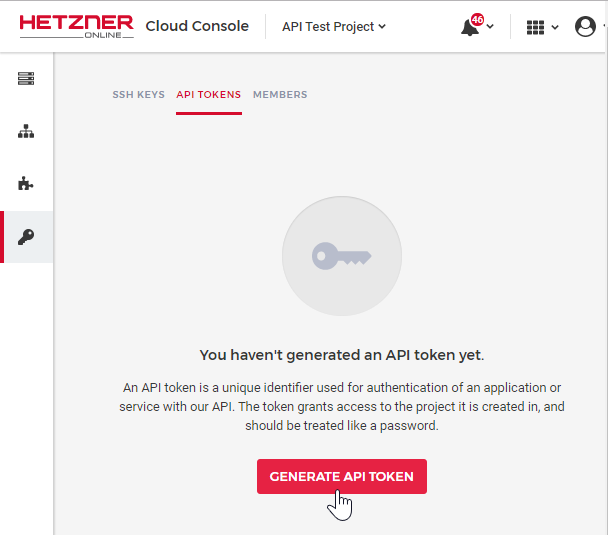
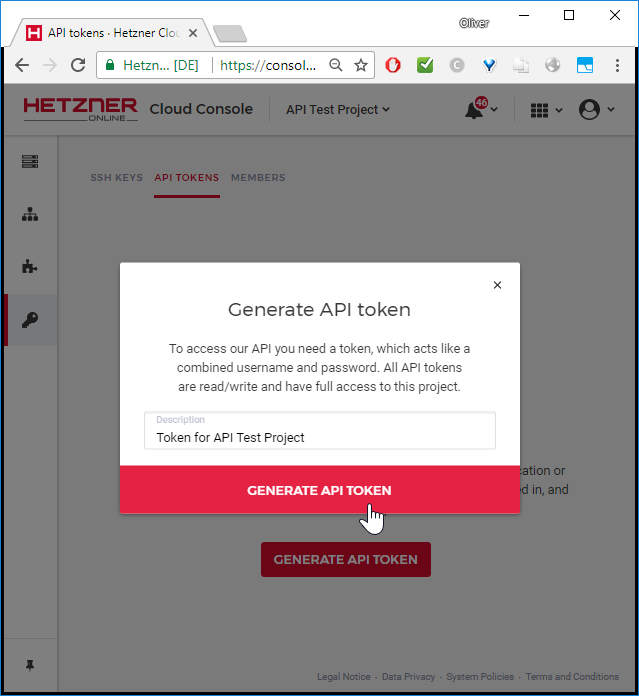
Copy and save the token to a secure place.
Step 3: Find the API Documentation
From there, we can find the API Documentation:
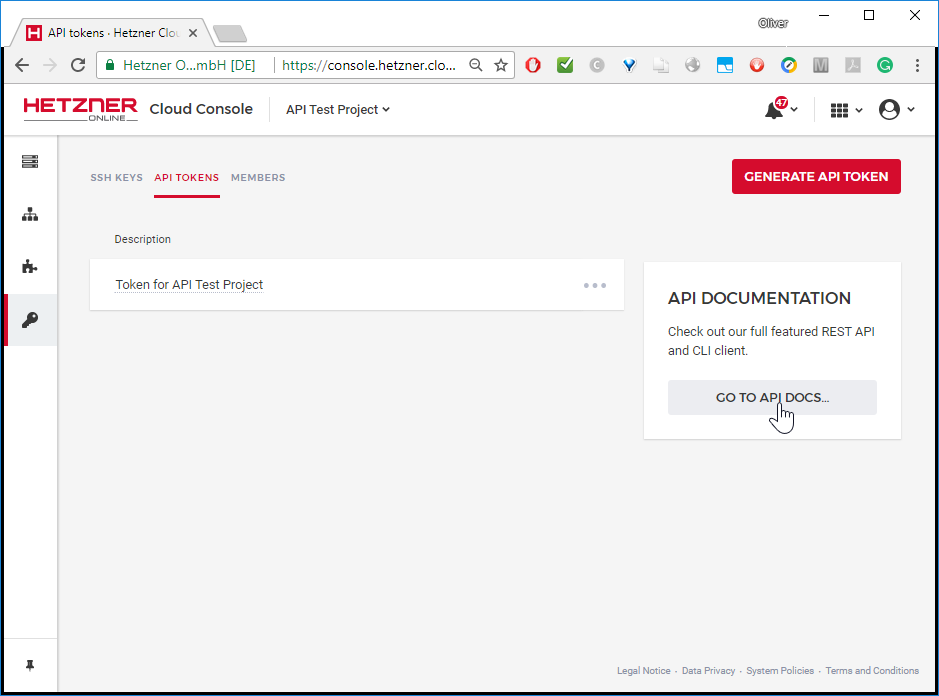
Step 4: Specify an SSH Key
From the API Documentation, let us copy and paste the „Create SSH Key“ example:
API_TOKEN=yourtoken
SSH_KEY="ssh-rsa AAAjjk76kgf...Xt"
curl -X POST \
     -H "Content-Type: application/json" \
     -H "Authorization: Bearer $API_TOKEN" \
     -d '{"name":"My ssh key","public_key":"'"$SSH_KEY"'"}' \
    https://api.hetzner.cloud/v1/ssh_keys
We have improved the example slightly by prepending the definition of the API_TOKEN and SSH_KEY. We also had to split the POST body (-d option) into three parts, since the SSH_KEY needs to be evaluated.
If everything went Okay, then the answer will look similar to follows:
{
  "ssh_key": {
    "id": 19400,
    "name": "My ssh key",
    "fingerprint": "0e:...d",
    "public_key": "ssh-rsa AAAjjk76kgf...Xt"
  }
}
Step 5: Read, Create and Delete a Server
Step 5.1: Read List of Servers
Let us create a server now. First, let us try out the „get all servers example“ from the documentation:
curl -H "Authorization: Bearer $API_TOKEN" \
   https://api.hetzner.cloud/v1/servers
This should return an empty list since the project is new and we have not created any servers yet:
{
  "servers": [],
  "meta": {
    "pagination": {
      "page": 1,
      "per_page": 25,
      "previous_page": null,
      "next_page": null,
      "last_page": 1,
      "total_entries": 0
    }
  }
}
We already can see above that Hetzner’s cloud API works supports pagination. I.e., if the number of returned entries is larger than 25, we need to perform more than one request to get the full list.
Step 5.2: Create a Server
Now let us create a server as follows:
curl -X POST \
     -H "Content-Type: application/json" \
     -H "Authorization: Bearer $API_TOKEN"  \
     -d '{"name":"my-server","server_type":"cx11","start_after_create":true,"image":"ubuntu-16.04","ssh_keys":["My ssh key"],"user_data":"#cloud-config\nruncmd:\n- [touch,/root/cloud-init-worked]\n"}' \
     https://api.hetzner.cloud/v1/servers
This time the answer is kind of lengthy:
{
  "server": {
    "id": 576675,
    "name": "my-server",
    "status": "initializing",
    "created": "2018-03-20T22:08:24+00:00",
    "public_net": {
      "ipv4": {
        "ip": "195.201.98.27",
        "blocked": false,
        "dns_ptr": "static.27.98.201.195.clients.your-server.de"
      },
      "ipv6": {
        "ip": "2a01:4f8:1c0c:7211::/64",
        "blocked": false,
        "dns_ptr": []
      },
      "floating_ips": []
    },
    "server_type": {
      "id": 1,
      "name": "cx11",
      "description": "CX11",
      "cores": 1,
      "memory": 2.0,
      "disk": 20,
      "prices": [
        {
          "location": "fsn1",
          "price_hourly": {
            "net": "0.0040000000",
            "gross": "0.0047600000000000"
          },
          "price_monthly": {
            "net": "2.4900000000",
            "gross": "2.9631000000000000"
          }
        },
        {
          "location": "nbg1",
          "price_hourly": {
            "net": "0.0040000000",
            "gross": "0.0047600000000000"
          },
          "price_monthly": {
            "net": "2.4900000000",
            "gross": "2.9631000000000000"
          }
        }
      ],
      "storage_type": "local"
    },
    "datacenter": {
      "id": 2,
      "name": "nbg1-dc3",
      "description": "Nuremberg 1 DC 3",
      "location": {
        "id": 2,
        "name": "nbg1",
        "description": "Nuremberg DC Park 1",
        "country": "DE",
        "city": "Nuremberg",
        "latitude": 49.452102,
        "longitude": 11.076665
      },
      "server_types": {
        "supported": [
          1,
          2,
          3,
          4,
          5,
          6,
          7,
          8,
          9,
          10
        ],
        "available": [
          1,
          2,
          3,
          4,
          5,
          6,
          7,
          8,
          9,
          10
        ]
      }
    },
    "image": {
      "id": 1,
      "type": "system",
      "status": "available",
      "name": "ubuntu-16.04",
      "description": "Ubuntu 16.04",
      "image_size": null,
      "disk_size": 5,
      "created": "2018-01-15T11:34:45+00:00",
      "created_from": null,
      "bound_to": null,
      "os_flavor": "ubuntu",
      "os_version": "16.04",
      "rapid_deploy": true
    },
    "iso": null,
    "rescue_enabled": false,
    "locked": false,
    "backup_window": null,
    "outgoing_traffic": 0,
    "ingoing_traffic": 0,
    "included_traffic": 21990232555520
  },
  "action": {
    "id": 499791,
    "command": "create_server",
    "status": "running",
    "progress": 0,
    "started": "2018-03-20T22:08:25+00:00",
    "finished": null,
    "resources": [
      {
        "id": 576675,
        "type": "server"
      }
    ],
    "error": null
  },
  "root_password": null
}
As expected, you will be able to see the server on Cloud Console:
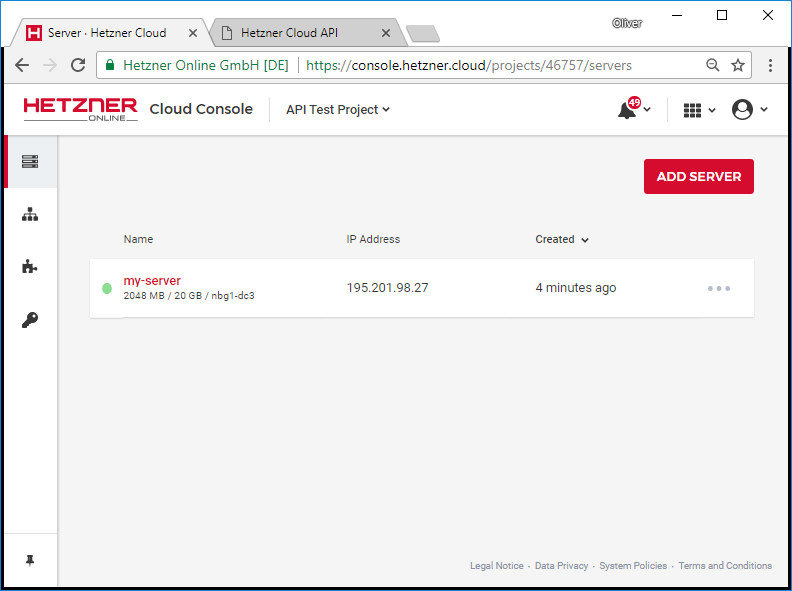
Now let us repeat the „Get all Servers“ example.
curl -H "Authorization: Bearer $API_TOKEN" \
   https://api.hetzner.cloud/v1/servers
This time, we expect to see our server on the list:
{
  "servers": [
    {
      "id": 576675,
      "name": "my-server",
      "status": "running",
      "created": "2018-03-20T22:08:24+00:00",
      "public_net": {
        "ipv4": {
          "ip": "195.201.98.27",
          "blocked": false,
          "dns_ptr": "static.27.98.201.195.clients.your-server.de"
        },
        "ipv6": {
          "ip": "2a01:4f8:1c0c:7211::/64",
          "blocked": false,
          "dns_ptr": []
        },
        "floating_ips": []
      },
      "server_type": {
        "id": 1,
        "name": "cx11",
        "description": "CX11",
        "cores": 1,
        "memory": 2.0,
        "disk": 20,
        "prices": [
          {
            "location": "fsn1",
            "price_hourly": {
              "net": "0.0040000000",
              "gross": "0.0047600000000000"
            },
            "price_monthly": {
              "net": "2.4900000000",
              "gross": "2.9631000000000000"
            }
          },
          {
            "location": "nbg1",
            "price_hourly": {
              "net": "0.0040000000",
              "gross": "0.0047600000000000"
            },
            "price_monthly": {
              "net": "2.4900000000",
              "gross": "2.9631000000000000"
            }
          }
        ],
        "storage_type": "local"
      },
      "datacenter": {
        "id": 2,
        "name": "nbg1-dc3",
        "description": "Nuremberg 1 DC 3",
        "location": {
          "id": 2,
          "name": "nbg1",
          "description": "Nuremberg DC Park 1",
          "country": "DE",
          "city": "Nuremberg",
          "latitude": 49.452102,
          "longitude": 11.076665
        },
        "server_types": {
          "supported": [
            1,
            2,
            3,
            4,
            5,
            6,
            7,
            8,
            9,
            10
          ],
          "available": [
            1,
            2,
            3,
            4,
            5,
            6,
            7,
            8,
            9,
            10
          ]
        }
      },
      "image": {
        "id": 1,
        "type": "system",
        "status": "available",
        "name": "ubuntu-16.04",
        "description": "Ubuntu 16.04",
        "image_size": null,
        "disk_size": 5,
        "created": "2018-01-15T11:34:45+00:00",
        "created_from": null,
        "bound_to": null,
        "os_flavor": "ubuntu",
        "os_version": "16.04",
        "rapid_deploy": true
      },
      "iso": null,
      "rescue_enabled": false,
      "locked": false,
      "backup_window": null,
      "outgoing_traffic": 0,
      "ingoing_traffic": 0,
      "included_traffic": 21990232555520
    }
  ],
  "meta": {
    "pagination": {
      "page": 1,
      "per_page": 25,
      "previous_page": null,
      "next_page": null,
      "last_page": 1,
      "total_entries": 1
    }
  }
}
Yes, we see a list of servers with length 1. The single server we see on the list is the one we have created before.
Step 5.3: Delete the Server
Now let us delete the server we just had created:
curl -X DELETE \
    -H "Content-Type: application/json" \
    -H "Authorization: Bearer $API_TOKEN" \
    https://api.hetzner.cloud/v1/servers/576675
Here, we have used the id 576675 of the server which we have seen in the response bodies of the creation or list commands, respectively.
If everything worked out well above, we will get a response with „status“:“success“ as follows:
{
  "action": {
    "id": 500177,
    "command": "delete_server",
    "status": "success",
    "progress": 100,
    "started": "2018-03-20T22:22:14+00:00",
    "finished": "2018-03-20T22:22:14+00:00",
    "resources": [
      {
        "id": 576675,
        "type": "server"
      }
    ],
    "error": null
  }
}
The project will have no servers anymore, accordingly:
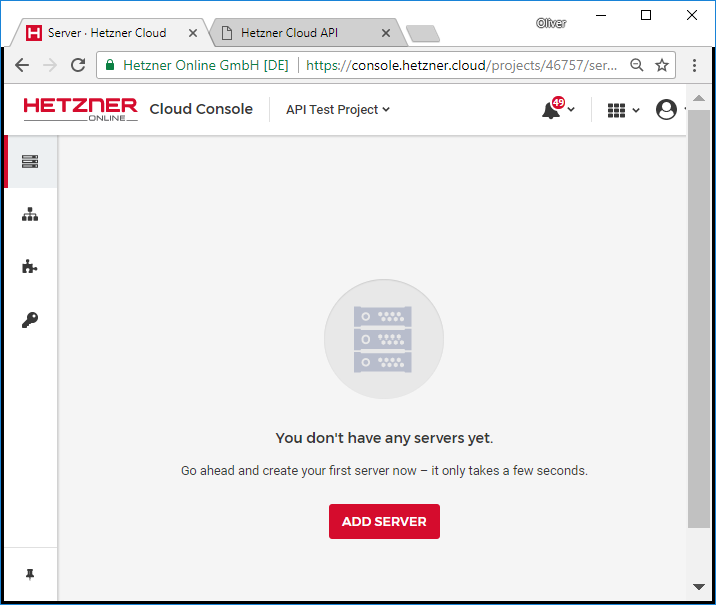
This should be it for this little „Hello World“ example.
Summary
In this little „Hello World“ example, we have seen that Hetzner’s Cloud API offers a simple token mechanism. You need to create the project and the token manually via the graphical cloud console. After that, HTTPS requests can be used to manage the project, We have shown how to add an SSH Key, and how to create, read and delete a server.
Your point of view caught my eye and was very interesting. Thanks. I have a question for you.
Thank you for your sharing. I am worried that I lack creative ideas. It is your article that makes me full of hope. Thank you. But, I have a question, can you help me?
Thank you for your sharing. I am worried that I lack creative ideas. It is your article that makes me full of hope. Thank you. But, I have a question, can you help me?
Can you be more specific about the content of your article? After reading it, I still have some doubts. Hope you can help me.
Your article helped me a lot, is there any more related content? Thanks!
Can you be more specific about the content of your article? After reading it, I still have some doubts. Hope you can help me.