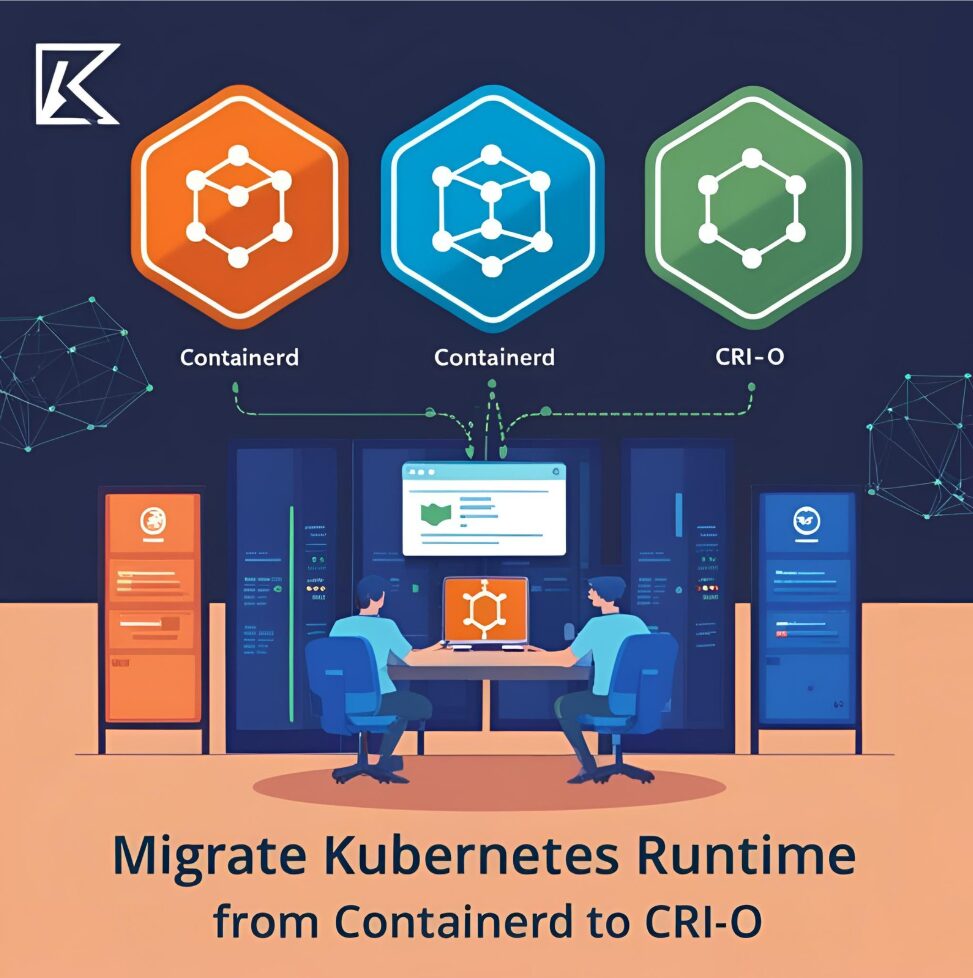
Why Replace Containerd with CRI-O in Kubernetes?
Switching container runtimes again might seem unnecessary after the recent move from Docker to containerd. However, CRI-O offers unique features like enhanced Kubernetes compatibility and improved security. For example, I used CRI-O to test Kubernetes user namespaces on an existing Kubernetes 1.32 installation (Ubuntu 24.04). These namespaces help provide sudo access in my vocon cloud while reducing the risk of host takeovers by malicious users. If you’re curious about CRI-O or its advantages, follow this step-by-step guide.
Environment Setup
It was tested on Ubuntu 24.04 with Kubernetes 1.32 with containerd installed. However, this should work also, if Kubernetes is not yet installed in your case.
Step 1: Set environment variables
export KUBERNETES_VERSION=v1.32
export CRIO_VERSION=v1.32
Step 2: Add the CRI-O GPG key
curl -fsSL https://download.opensuse.org/repositories/isv:/cri-o:/stable:/$CRIO_VERSION/deb/Release.key | sudo gpg --dearmor -o /etc/apt/keyrings/cri-o-apt-keyring.gpg
Step 3: Add the CRI-O repository
Integrate CRI-O into apt sources:
echo "deb [signed-by=/etc/apt/keyrings/cri-o-apt-keyring.gpg] https://download.opensuse.org/repositories/isv:/cri-o:/stable:/$CRIO_VERSION/deb/ /" | sudo tee /etc/apt/sources.list.d/cri-o.list
Step 4: Update the package list
Refresh the apt repository list:
sudo apt-get update
Step 5: Install CRI-O
Install the CRI-O runtime:
sudo apt-get install -y cri-o
Step 6: Stop containerd
Stop the containerd service:
sudo systemctl stop containerd
Step 7: Remove containerd
Uninstall containerd and unnecessary dependencies:
sudo apt-get remove --purge containerd
sudo apt-get autoremove -y
Step 8: Configure and Enable the CRI-O Bridge
Once, I had observed that the CRIO-bridge was disabled.
ls -1 /etc/cni/net.d/

# output:
# 10-crio-bridge.conflist.disabled
If it is disabled in your case as well, enable the CRI-O bridge by running the following command:
sudo mv /etc/cni/net.d/10-crio-bridge.conflist.disabled /etc/cni/net.d/10-crio-bridge.conflist
Step 9: Start and enable CRI-O
Activate the CRI-O service and enable it, so CRI-O starts automatically on system boot:
sudo systemctl start crio.service
sudo systemctl enable crio
Step 10: Update kubelet configuration
Point kubelet to CRI-O:
echo 'KUBELET_EXTRA_ARGS="--runtime-request-timeout=15m --container-runtime-endpoint=/var/run/crio/crio.sock"' | sudo tee -a /etc/default/kubelet
Step 11: Restart kubelet with the new configuration
Apply updated system settings:
sudo systemctl daemon-reload
Reinitialize kubelet with the new runtime:
sudo systemctl restart kubelet
Step 12: Verify kubelet status
Check if kubelet is running properly:
sudo systemctl status kubelet
Step 13: Confirm Kubernetes node functionality
Ensure nodes in your cluster are operational:
kubectl get nodes
Conclusion
Replacing containerd with CRI-O can unlock valuable features like Kubernetes user namespaces and enhanced security. By following this guide, you’ll not only learn how to make the switch seamlessly but also explore new possibilities for improving your Kubernetes setup. Embrace CRI-O and take your Kubernetes experience to the next level!
Part 2: Test User Namespaces
moved to here
