In this post, I will explore services failover scenarios for docker containers on CoreOS clusters using fleet. A container-based service will be defined and started, and we will explore the service recovery after a failure of one or all cluster nodes (e.g. a power outage).
If you happen to read the full description after tl;dr section below, you will learn about the difference between fleet used here and orchestration tools like Kubernetes. In addition, we will explore the proper SSH key handling and HTTP proxy configuration.
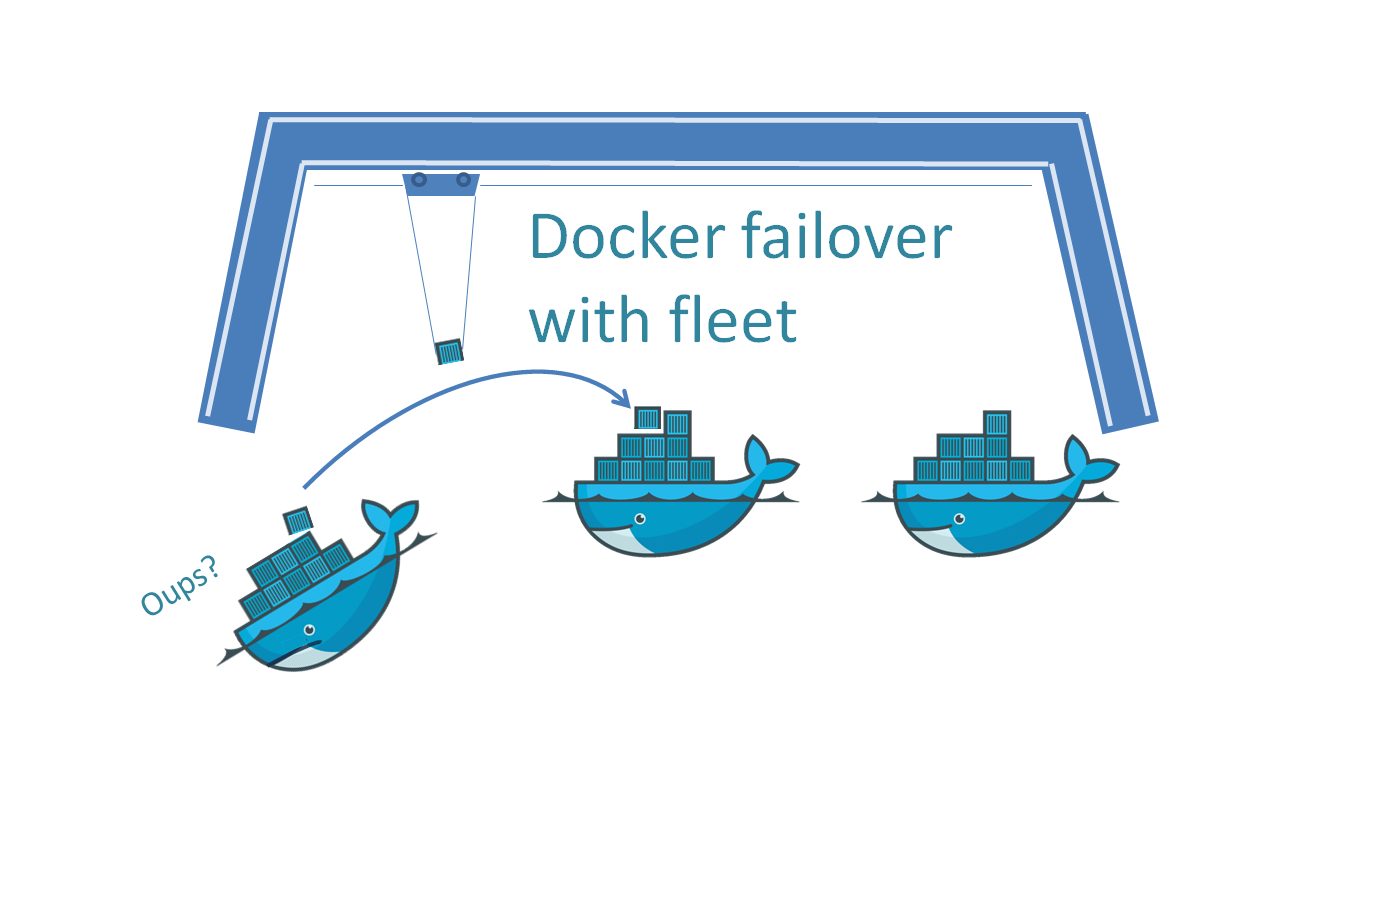
tl;dr: Docker CoreOS Cluster Failover Test in less than 15 Minutes
In this chapter, we start from a cluster that is up and running as created in the appendix of last my last blog. In that blog we have created a CoreOS cluster in less than 10 minutes. Now, we will define a hello world service that can be started on the cluster, and we will check that the cluster failover works as expected.
Prerequisite: you have followed the instructions in the blog Install a CoreOS Docker Cluster in less than 10 Minutes.
- If you are behind a HTTP proxy (adapt IP address:Port to match your case):
SET HTTP_PROXY=http://<your_proxy_ip>:<your_proxy_port>
SET HTTPS_PROXY=http://<your_proxy_ip>:<your_proxy_port>
vagrant plugin install vagrant-proxyconf
uncomment 5 lines in the Vagrantfile starting with the line containing „vagrant-proxyconf“
exchange „proxy.example.com:8080“ by the IP address/Port pair valid in your environment and save the documentvagrant reload --provision
- connect to one of the cluster nodes:
vagrant ssh core-01
- check the HTTP proxy configuration, if applicable: issue the command „set“ and confirm that http_proxy and https_proxy are set to the appropriate values
- copy&paste the content of the hello service from the Hello Service section below into a new hello.service file in the home directory
[Unit]
Description=My Service
After=docker.service

[Service]
TimeoutStartSec=0
ExecStartPre=-/usr/bin/docker kill hello
ExecStartPre=-/usr/bin/docker rm hello
ExecStartPre=/usr/bin/docker pull busybox
ExecStart=/usr/bin/docker run --name hello busybox /bin/sh -c "while true; do echo Hello World; sleep 1; done"
ExecStop=/usr/bin/docker stop hello
- start the service:
fleetctl load hello.service
fleetctl start hello.service
- check the service (issue several times until you see some lines with date and „Hello World“):
fleetctl status hello.service

- Failover Test: via Virtualbox console, shutdown the machine that has the service running (might differ from the machine you have started the service)
- Connect to another node, e.g. via
vagrant ssh core-03
and repeat step 7. It should show that the service is up and running like follows:
Bingo!
Full description: Starting a distributed Hello World Service
Versions
v1 (2015-07-22): step by step instruction with manual changes required
v2 (2015-07-27): added the „Appendix: CoreOS Cluster Failover Test in less than 15 Minutes“
v3 (2015-08-19): moved to WordPress, since the LinkedIn blog is not available publicly anymore
v4 (2015-08-19): moved the CoreOS Cluster Failover Tests in less than 15 Minutes to the top (for the quick reader)
About fleet
For service definition and management, we explore the features and handling of fleet software that ships with CoreOS. fleet is based on an open source project that calls fleet a „simple distributed init system“. The project team points to Kubernetes for all those, who are looking for more complex scheduling requirements or a first-class container orchestration system.
Still, I would like to learn about fleet. fleet is described in the CoreOS Quick Start Guide and it seems to be simple, and still powerful, if you are looking for following features:
- define a (docker container) service independent of the CoreOS node it will run on later
- deploy and start the a service unit on any of the CoreOS nodes
- deploy and start service units on all of the CoreOS nodes
- upon failure of a node: automatic restart of a service unit on an other node
- make sure that all required service units are started on the same machine (affinity)
- forbid specific service units from running on the same machine (anti-affinity)
- allow for machine specific metadata
Note that the fleet software could work on any Linux system with an up to date systemd, but officially, it is supported only on CoreOS (see a group discussion here).
Following the CoreOS Quick Start Guide, I have create a hello.service file in home directory of the „core“ user on core-01:
hello.service
[Unit]
Description=My Service
After=docker.service

[Service]
TimeoutStartSec=0
ExecStartPre=-/usr/bin/docker kill hello
ExecStartPre=-/usr/bin/docker rm hello
ExecStartPre=/usr/bin/docker pull busybox
ExecStart=/usr/bin/docker run --name hello busybox /bin/sh -c "while true; do echo Hello World; sleep 1; done"
ExecStop=/usr/bin/docker stop hello
It is not clear to me yet, where this service definition is supposed to be located. Will it be distributed to all systems? If not, what happens if the machine, this service definition is located is unavailable? We will see in the „Power Outage“ section further down below, that the service is still started automatically. For now, let us go on:

Now let us load and start the service:
fleetctl load hello.service
fleetctl start hello.service

We can see that the service has not been started on core-01, but on core-03 instead, since the IP address 172.17.8.103 is owned by core-03. Let us try to check the service status with the command
fleetctl status hello.service

Failed. We can still see that the file has been started on core-03 by using the command
fleetctl list-unit-files

However, the „fleetctl status hello.service“ command works locally on core-03, though, where the service has been started:

It is not up and running, because busybox could not be downloaded. This is caused by a missing HTTP proxy configuration and will be fixed later. As a workaround, you can also connect temporarily to the Internet without HTTP proxy (e.g. using the hot spot function of your mobile phone), and it will work. However, let us fix that later and let us concentrate on the fleetctl status command issue first:
Fixing the fleetctl status Problem
A long troubleshooting session has lead me to the result that the problem is caused by the ssh agent not being started and by a missing SSH private key on the system that is issuing the fleetctl command. For resolution, we need to perform following steps:
- Find and upload the insecure SSH key to the nodes
- start the ssh-agent
- set permissions of the ssh key to 600
- add the key with ssh-add
1. find and upload the SSH key to the nodes
If you are using WinSCP as SFTP client, you need to convert the insecure private key found on
$USERPROFILE/.vagrant.d/insecure_private_key
(where $USERPROFILE=C:/Users/<yourusername> on Windows)
to ppk format. This can be done by importing and saving the private key using the puTTYgen tool.

The ppk key then can be used by WinSCP to connect to the system and transfer the private key (the one in the original format):


Here, you see the WinSCP connection to the core-0x machines with manually added private keys in the .ssh folder.
2. start the ssh agent
Perform the command
eval `ssh-agent -s`
After that the error message changes to „ssh: handshake failed: ssh: unable to authenticate“

3. set permissions of the SSH key file to 600
perform
chmod 600 .ssh/insecure_private_key
on the node:

4. add the key with ssh-add
Now we need to perform the command
ssh-add .ssh/insecure_private_key
With that, the fleetctl problem is resolved and the command fleetctl status hello.service works also on core-01:

You need to perform those steps from any machine you want to be able to perform fleetctl commands with full access to all of the nodes of the cluster. In the Appendix, I will show that this can be automated using Vagrant.
Manually Fixing the HTTP proxy Problems
Now let us fix the busybox download topic: the service could not be started because I am behind a proxy and the cluster nodes cannot download the busybox image from the repository. For that to work, I either need to pre-load the images, or I need to control the http proxy configuration of each cluster node, similar to how I have done it on DDDocker (6) in the section „HTTP Proxy Problems“.
The cool, automated way of doing this is by using the Proxy Configuration Plugin for Vagrant described on http://tmatilai.github.io/vagrant-proxyconf/. But note, that there is an open bug, which will be fixed in the Appendix.
For core-03, let us test the manual way of solving the problem first:
- check that the download fails e.g. by trying a „docker search busybox“ on the command line or on core-03: fails like expected (this takes a long time):

- Perform the commands:
sudo mkdir /etc/systemd/system/docker.service.d
sudo vi /etc/systemd/system/docker.service.d/http-proxy.conf
and add something like:
[Service]
Environment="HTTP_PROXY=http://proxy.example.com:8080"
(replace the URL, so it fits to your environment)

- reboot core-03 (best via „vagrant reload core-03“ on the vagrant folder) and check again the command, which should succeed now:

Success: all docker requests are sent to the HTTP proxy and docker search command succeeds.
An implicit Cluster Node Failover Test
Now let us see, what happened to our service:

We can see, that it is still down. However, because of the reboot of core-03, the service was automatically moved to core-02. However, core-02 still has a false HTTP proxy configuration; therefore the download of the busybox image has failed. Let us force the service back to core-03 by reloading core-02 and core-01 via
vagrant reload core-02 core-01
(performed on the host system in the vagrant project folder). As expected the service is moved to core-03 and is up and running:

Note that our fleetctl (SSH key) fix has not survived the reload on core-01:

Therefore it is a good idea to look for an automated (vagrant) way to fix the SSH key problem as shown below.
Automated Fix of the SSH Key Problem
We have seen above that the fleetctl status commands fails if the service is running on a remote cluster node. The reason was that the fleetctl client has no trusted private SSH key installed and the ssh agent is not started. The manual workaround to activate the SSH key has not survived a reboot of the node. Therefore, I have automated the installation of the vagrant SSH key on my github fork https://github.com/oveits/coreos-vagrant.
To make use of it, follow the instructions in my DDDocker (7) blog, but replace the git clone command from https://github.com/coreos/coreos-vagrant to the new repository https://github.com/oveits/coreos-vagrant. After that, the commands
fleetctl status <your started service, e.g. hello.service>
should be working on all 3 nodes. If not, please report it as an issue on https://github.com/oveits/coreos-vagrant.
Automation of the HTTP proxy Configuration Distribution
On core-03, we manually have fixed the HTTP proxy configuration by editing the file /etc/systemd/system/docker.service.d/http-proxy.conf. On core-01 and core-02, we will now fix it using a nice plugin, the vagrant-proxyconf plugin. This plugin provisions the HTTP proxy configuration of all nodes of the cluster during vagrant deployment.
Install the vagrant-proxyconf plugin
If you are currently behind a HTTP proxy, the HTTPS_PROXY variable must be set manually on the host system for the command
vagrant plugin install vagrant-proxyconf
to succeed. Below, I was connected directly to the Internet, so the HTTPS_PROXY had to be empty:

Now configure the Vagrantfile:
before:

after:

Replace the IP addresses and ports to the ones that fit to your networking environment.
Let us verify that the HTTP configuration is still wrong for core-01:

The variables $HTTP_PROXY and $http_proxy are empty and docker search busybox has failed (timed out):

Now let us provision the cluster node via (if you omit the name core-01, it will provision all nodes in the cluster; however, we want to quickly see and verify the results first before rolling out the provisioning to all nodes):
vagrant reload --provision core-01
# (also possible: vagrant provision core-01, but you need to make sure you reconnect via SSH, since the effect will not be visible in the current SSH session)

After reconnecting to core-01 via SSH, we will see following output of the „set“ command (with different IP addresses and/or ports in your case):

Now docker search is successful:

We remove the file /etc/systemd/system/docker.service.d/http-proxy.conf from core-03, since we will not need it anymore:

and we perform the same provisioning step for core-02 and core-03:
vagrant reload --provision core-02 core-03

After that, the hello.service should have been moved to core-01 and the busybox download should have been successful:

If you have done the tests based on the git repository https://github.com/oveits/coreos-vagrant instead of https://github.com/coreos/coreos-vagrant, you will see the same status on all 3 nodes:

If you have used the original git repository https://github.com/coreos/coreos-vagrant, you will need see

Again, this can be resolved by uploading the private key found on
$USERPROFILE/.vagrant.d/insecure_private_key
(where $USERPROFILE =  C:/Users/<yourusername> on Windows)
to the ~core/.ssh folder and re-issuing the commands
eval `ssh-agent -s`; chmod 600 .ssh/insecure_private_key; ssh-add .ssh/insecure_private_key
before issuing the fleetctl status command, as seen below:
The hello.service is up and running also from behind a HTTP proxy.
Total Cluster Failure (e.g. Power Outage)
Now, we will simulate a total cluster failure by shutting down the cluster node VMs via Virtualbox. The hello.service has been defined on core-01 only. Let us first start core-02 and core-03, if they start up the service:

Cool: even after a simulated power outage, the service is restarted. And this, although I have not yet started core-01, where the service definition file is located. Perfect. In a productive environment, we just need to make sure that the virtual machines are automatically booted, after power is back again (e.g. using vSphere functions).
Summary
fleet is a low level init system for clusters, which can be used to manage clusters directly and also also can be used to bootstrap higher-level container orchestration software like Kubernetes. It allows to define services, and run the service on any node of the cluster.
In this post, using fleet, the failover and recovery of a container-based service after a cluster node failure has been tested successfully:
- after failure of the node the service was running on, the service is automatically started on another node of the cluster.
- After a simulated total cluster outage, the service will be started, even if the cluster node, where the hello.service file is located, is kept down.
Special care had to be taken to following topics:
- SSH keys and ssh agent on the fleet client
- HTTP proxy onfiguration, if applicable to your environment
Both topics have been shown that they can be handled either manually or through automatic Vagrant provisioning.
About 1. SSH connection requirements:
The node running the fleet client needs to be provisioned with a trusted SSH private key. This can be automated using Vagrant; an according git repository has been provided here: https://github.com/oveits/coreos-vagrant.
About 2. HTTP proxy configuration:
If your cluster runs behind a HTTP proxy, several measures should be considered:
- initial cluster discovery (see DDDocker (8)): a temporary direct Internet access is needed, if you do not want to install a local etcd discovery agent, since etcd discovery does not yet support HTTP proxies.
- Successful service launch requires a correct HTTP proxy configuration of each node. This can be automated via the vagrant-proxyconf plugin. However, in the current version, a bug needs to be fixed manually (can be performed in two minutes).