How to automate the configuration of network devices? Cisco APIC-EM (= Application Policy Infrastructure Controller) is a controller that can help us with that task. In this blog post, we will explore its modern REST API for accomplishing basic tasks like creating, reading, updating and deleting (CRUD) objects like
- APIC users (e.g. administrators)
- network discovery tasks
- network devices and their configurations.
We will use the Chrome Postman plugin for exploring the API.
Tldr;
Click here to have a look at the summary section.
What is Cisco APIC?
See here a nice 4 minute Cisco youtube commercial about APIC. And here you find a Cisco live! 40 minute session, which gives a short overview. I will summarize:
- APIC is a controller with Web Interface and REST API, which can be used to Create, Read, Update and Delete (CRUD) following kind of objects (and more)
- Network Devices
- Locations
- Interfaces
- Links
- Hosts
- Policies
- Tasks
- …
- Network Devices
- Anything you can do in the Web interface can also be done via the REST API (similar to Ruby on Rails, RoR)
- The video is showing how a REST test tool like Chrome Postman or simple Python scripts can be used to interface with the REST API. Some examples are:
- displaying a list of all network devices
- displaying a the network path from arbitrary address A to arbitrary address B
- finding an ACL on a network path that is blocking a certain application
- The REST API is self-documenting using Swagger
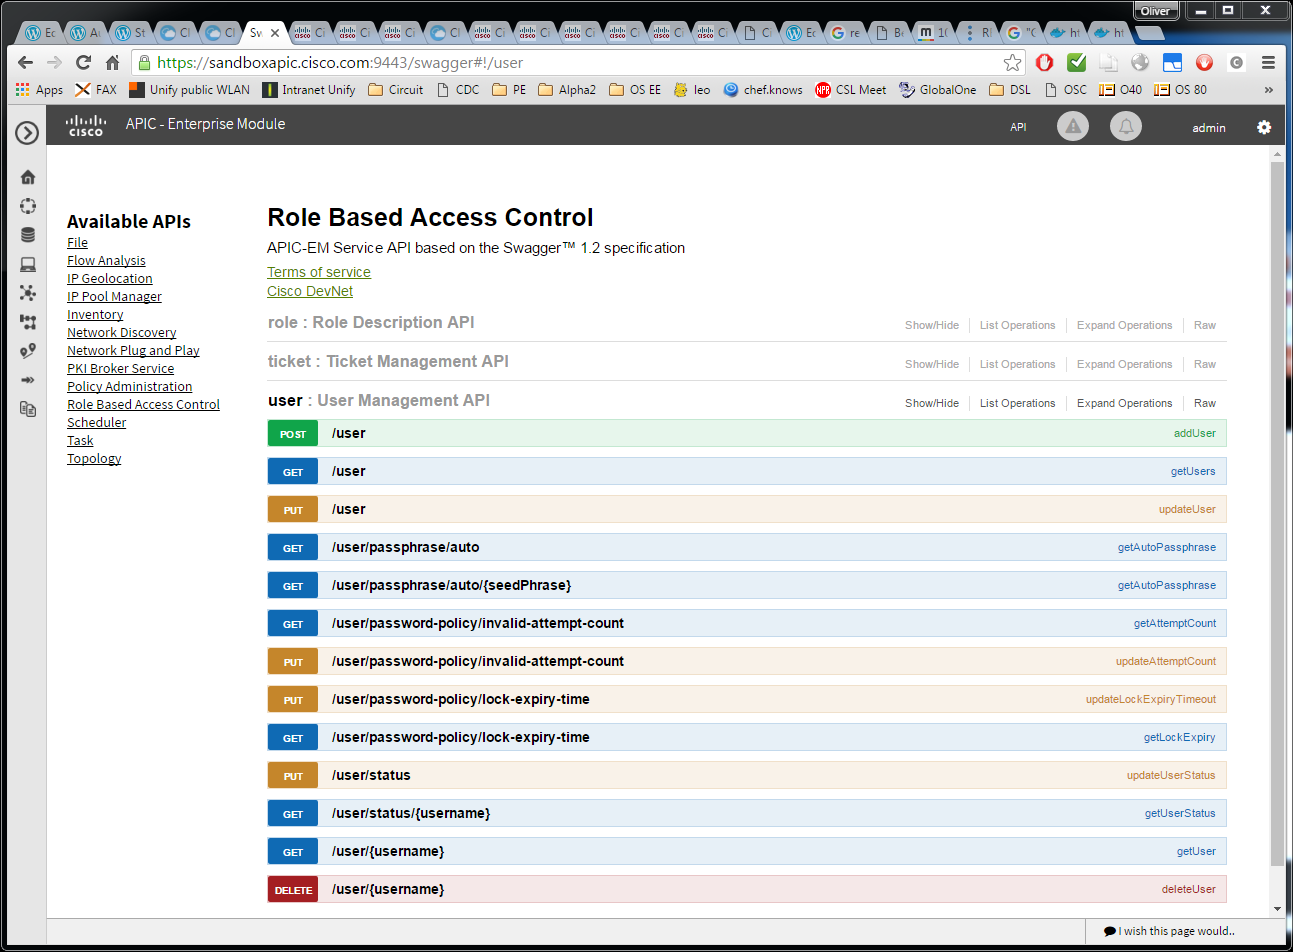
Note: „self-documenting“ means- that it can be explored through the same interface (but different path) like the API itself
- the documentation is generated from source code. Note, that the developer needs to add the content of the swagger documentation to the source code, similar to javadocs. Swagger takes care of converting the source code into swagger interactive web pages.
Why should you install Cisco APIC?
Quick answer: you should not. The installation on VMware 5.1 or 5.5 would require 6 vCPUs and 64 GB of RAM, 500 GB disk and 200 MB disk I/O speed. A monster of an application. Wow.
To be more specific: you can install Cisco APIC, but you do not need to install Cisco APIC, if you just want to explore the Cisco APIC interfaces: there is a more clever, cloud-based possibility: DevNet sandboxes offered by Cisco.
If you still want to install it, the SW can be found via this DevNet page (use IE or Firefox; since Chrome is not supported; click on „3“). The SW is also available on Cisco’s SW repository. However, authorization is required there, while in DevNet, the access is less restrictive.
A clever Alternative: DevNet Sandboxes:
Instead of installing this monster application, we can also connect to one of the DevNet Learning Labs found in the DevNet Sandbox catalog.

Note that you need to register with Cisco, if you have not done already, either as a Customer or a Partner. In both cases, they want you to enter a contract number. I am a CCIE, so I already had an account.
See below more information on the pre-installed labs.
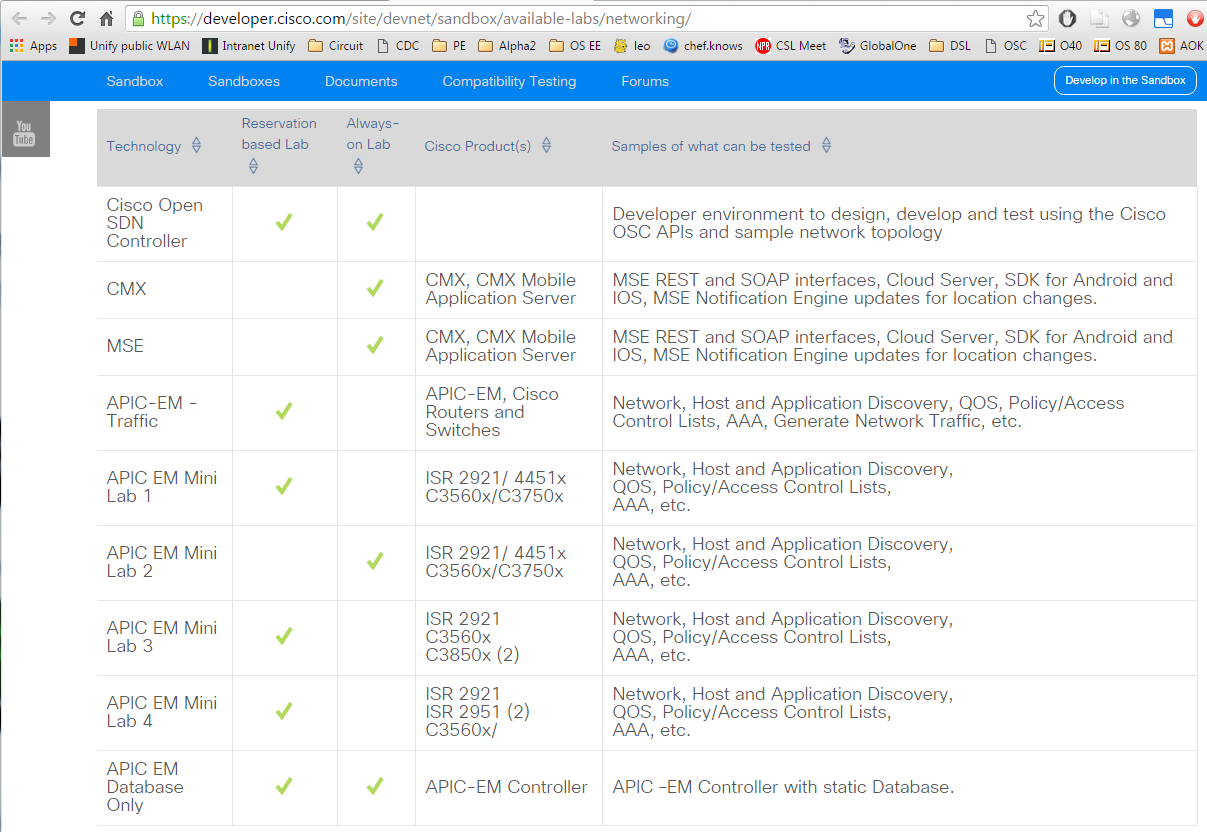
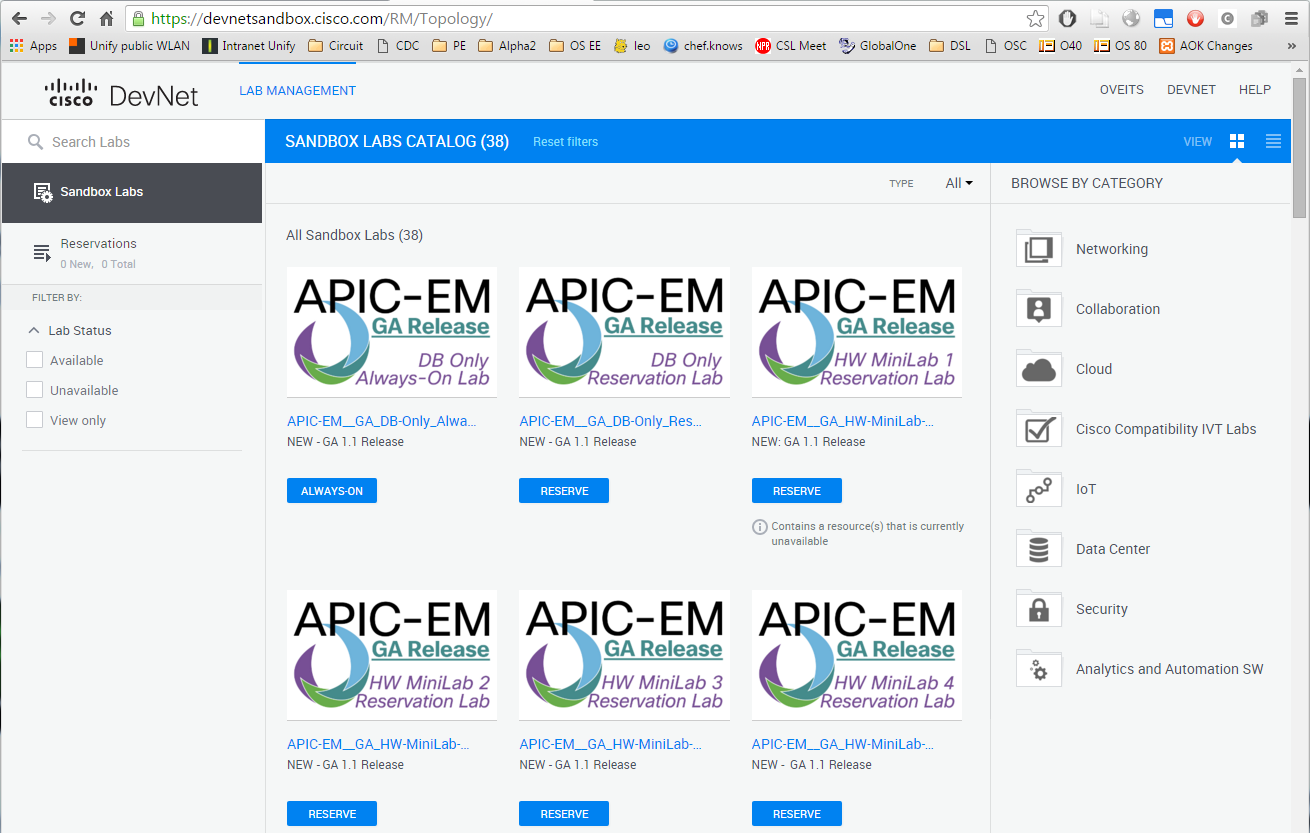
Most of the labs are APIC labs. When clicking on the „Develop in the Sandbox“ button on the upper right of the page, I reach at the lab catalog.
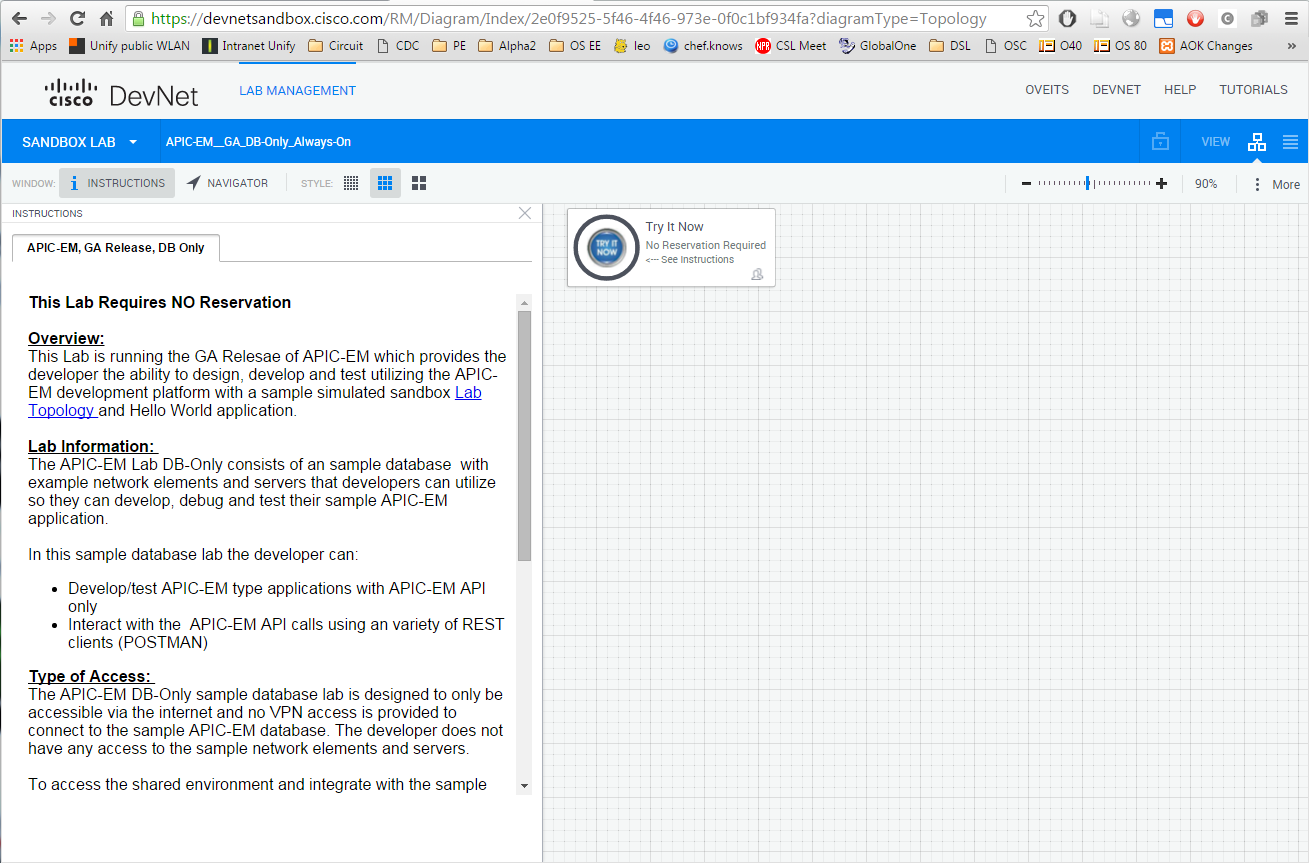
Let us keep simple, and try to enter the APIC-EM DB Only Always-On lab: this seems to be a kind of guided lab. Cool. 😉
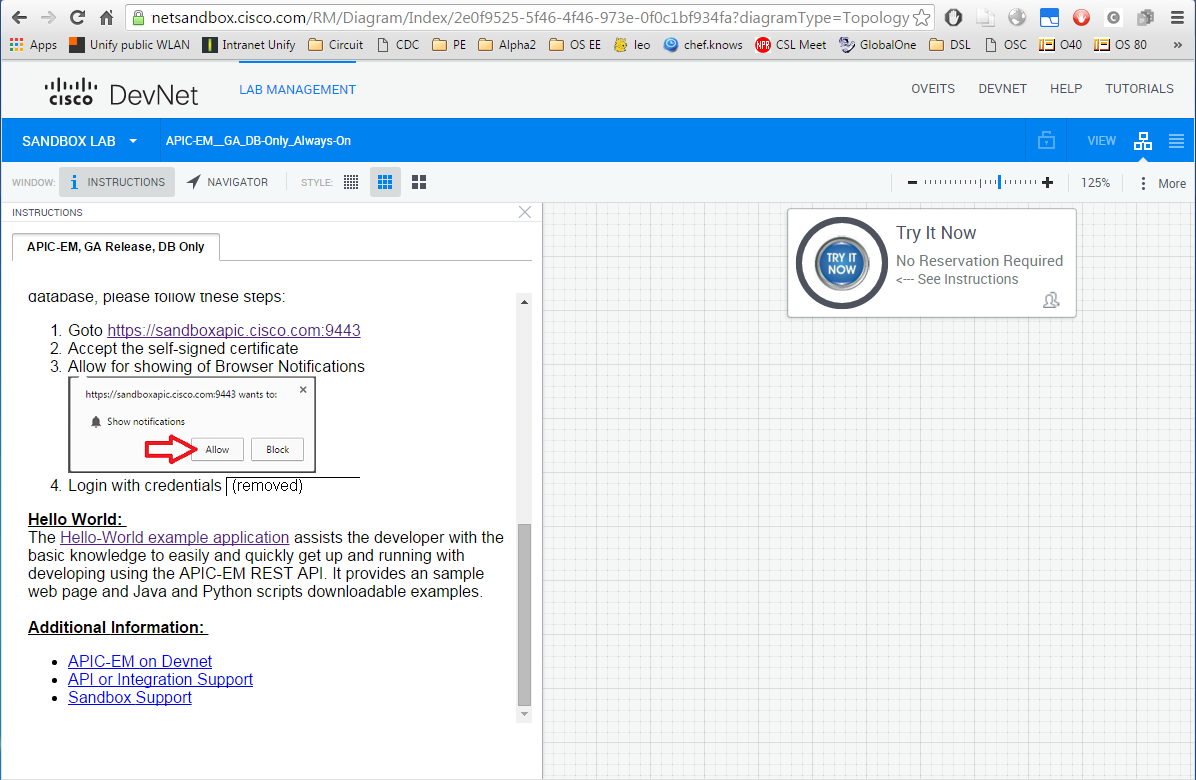
scrolled down on the left pane:
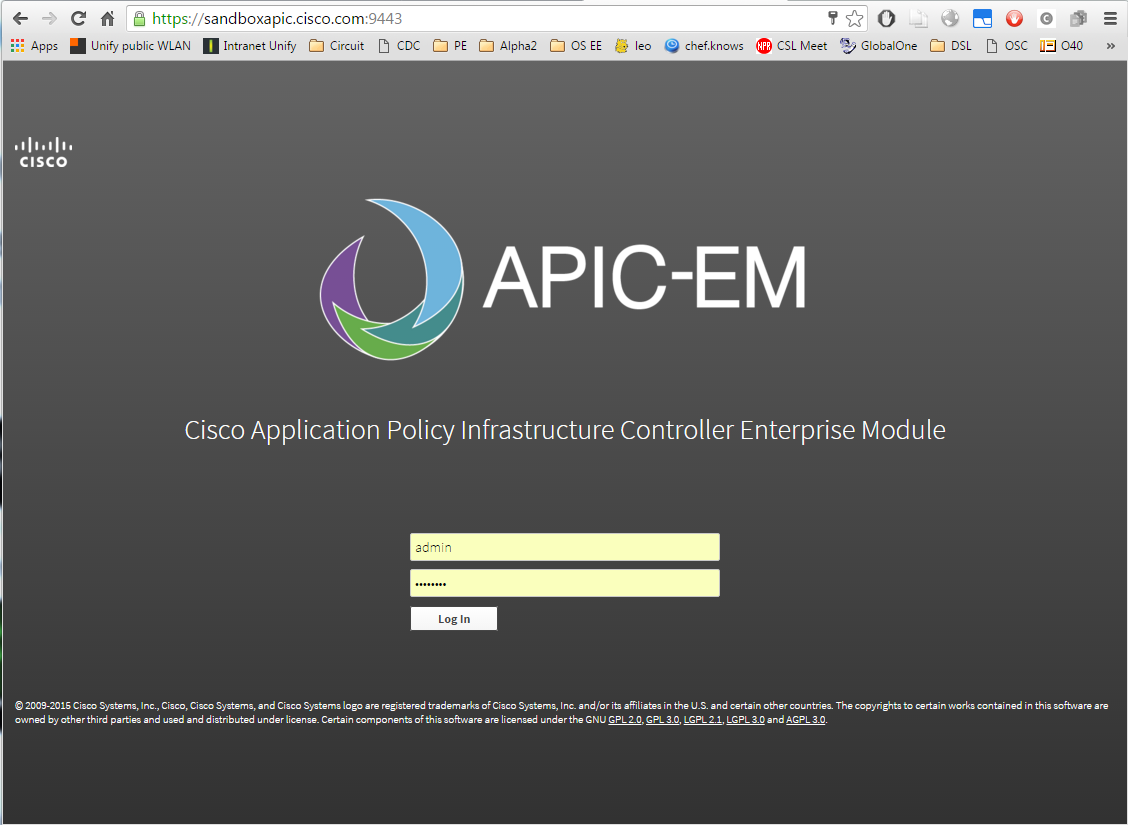
we find a link to the APIC-EM portal: https://sandboxapic.cisco.com:9443. There, I could log in with the specified default credentials (removed).
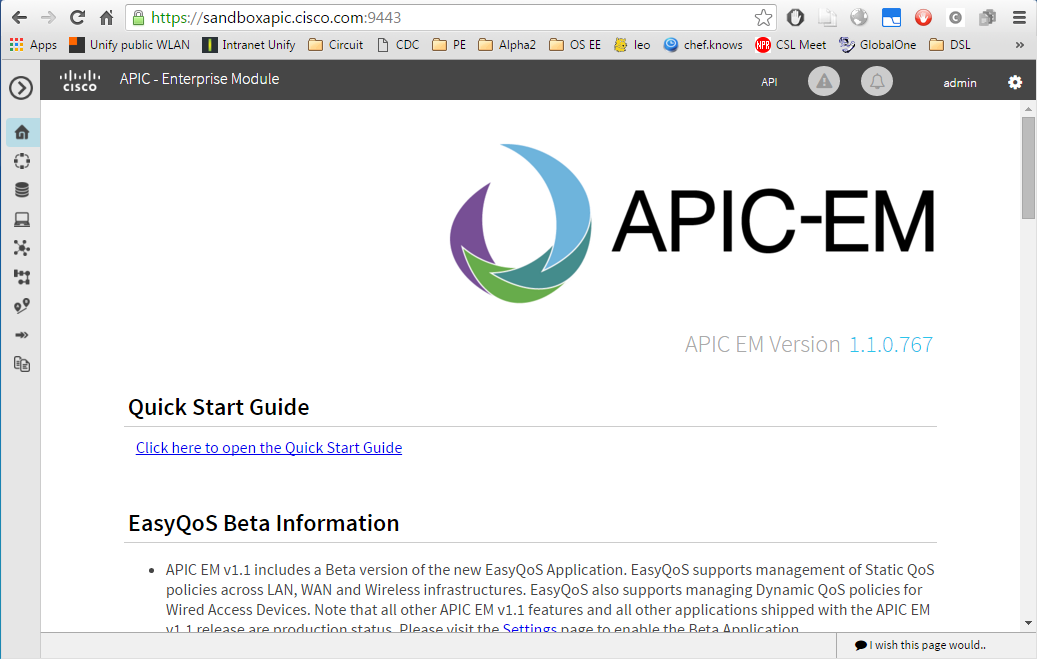
With that, I have reached the APIC-EM portal:
Manipulating Users
Note: In this example, we will show how to create, read and delete users using Postman, a chrome app for sending RESTful HTTP commands (most important: POST, GET, PUT, DELETE for Create, Read, Update and Delete of an object).
Let us go back to the guided tour on the „APIC-EM DB Only Always-On lab“ we had reached from the lab catalog: on the left pane, we can find a link to the sandbox:
Furthermore, we can find a link to a hello world guided tour in order to explore the northbound REST interface.
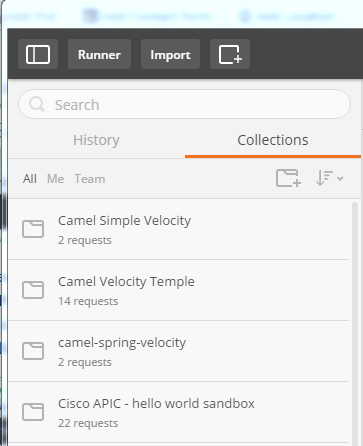
There, they are requesting that the user should install Postman. This is the tool I use often to test my ProvisioningEngine and its target systems. Within Postman, I have created a new collection called „Cisco APIC – hello world sandbox“:
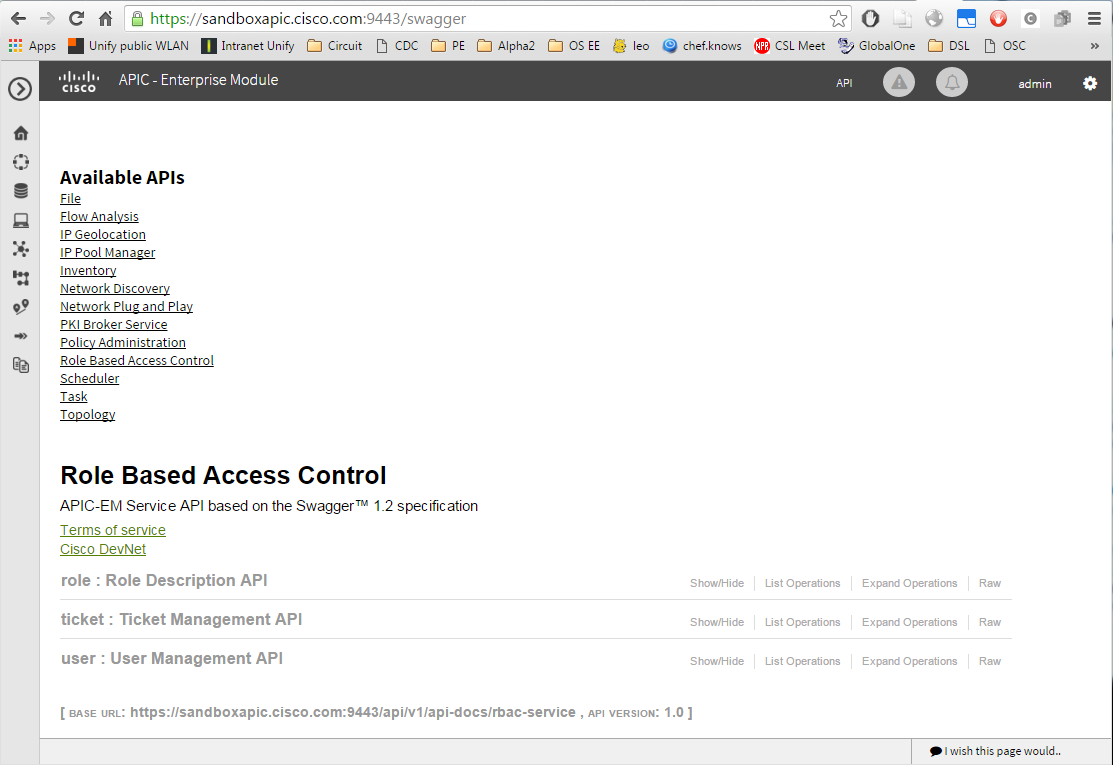
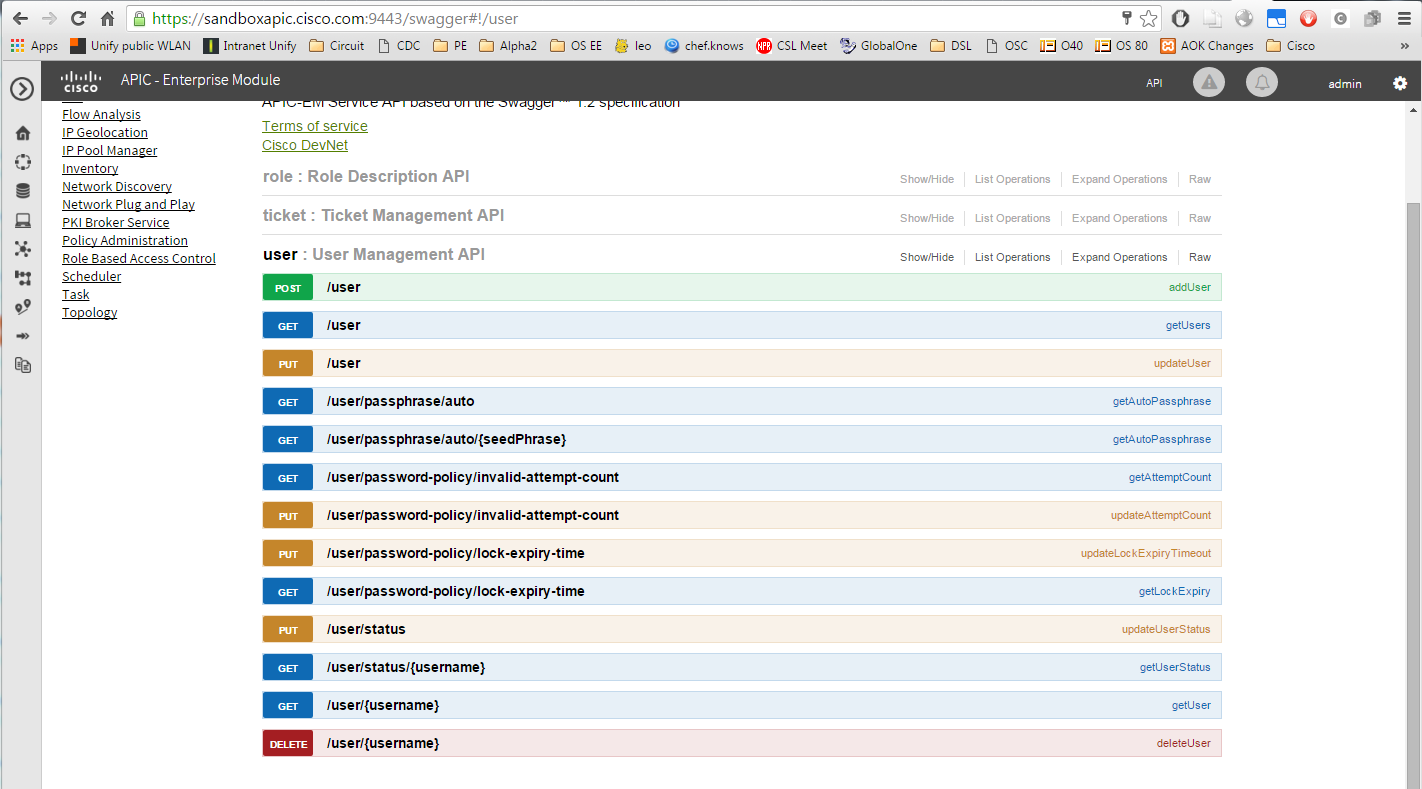
Before sending my first REST commands to the Cisco APIC, I would like to explore the self-documented interface. From what I have seen in the video, I just need to enter the link https://sandboxapic.cisco.com:9443/swagger in a browser. Yes; here we are:
In the hello world example, we will start with the creation of a ticket. Let us explore the ticket documentation:
Init: Creation of an authentication Token
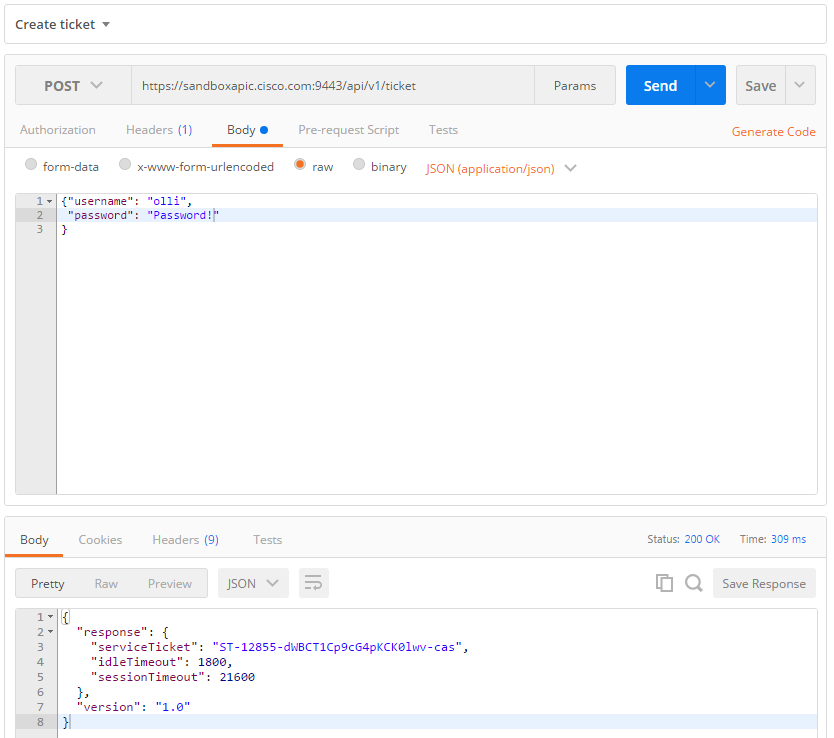
Now, on Postman, let us perform our first real command: creation of a ticket. In Postman, I enter:
and the body:
After pressing the „Send“ button we get:
Good. So, what do we do with that?
Read Users: GET /user
The serviceTicket above then is used as an X-Auth-token for all subsequent requests. Let us use it to show all users:
Do not forget to switch from POST to GET, before you press the Send button.
Oups, we get: „Not Found“
That was, because I had a double-slash instead of a slash in the URL. After correcting the URL and pressing the Send button again, we get a meaningful answer:
{
  "response": [
    {
      "username": "greg",
      "authorization": [
        {
          "scope": "ALL",
          "role": "ROLE_ADMIN"
        }
      ]
    },
    ...
    {
      "username": "admin",
      "authorization": [
        {
          "scope": "ALL",
          "role": "ROLE_ADMIN"
        }
      ]
    },
    ...
  ,
  "version": "1.0"
}
Note: The API developers have chosen to use singular nouns like GET /user. This is a little bit awkward, since a GET /user is returning a collection of users, not a single user. GET /users sounds more natural, especially, if you are used to Ruby on Rails. However, at the end, it is a matter of convention. Unfortunately, there is no agreement on the convention either way and we find popular API examples for both conventions. Fortunately, they have chosen not to mix plural and singular nouns in the URL. Good.
Create a User: POST /user
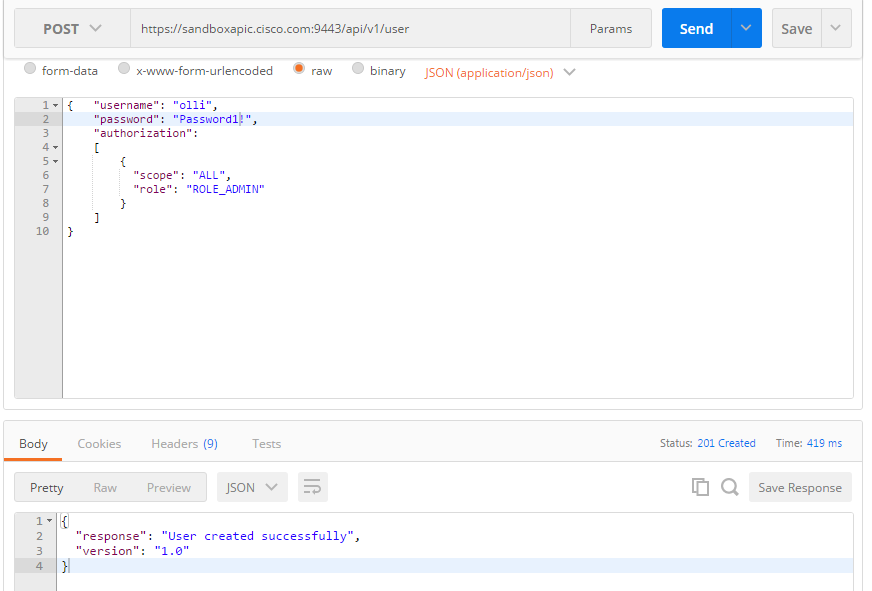
With a little bit of trial and error, I also have been successful in creating a new user entry:
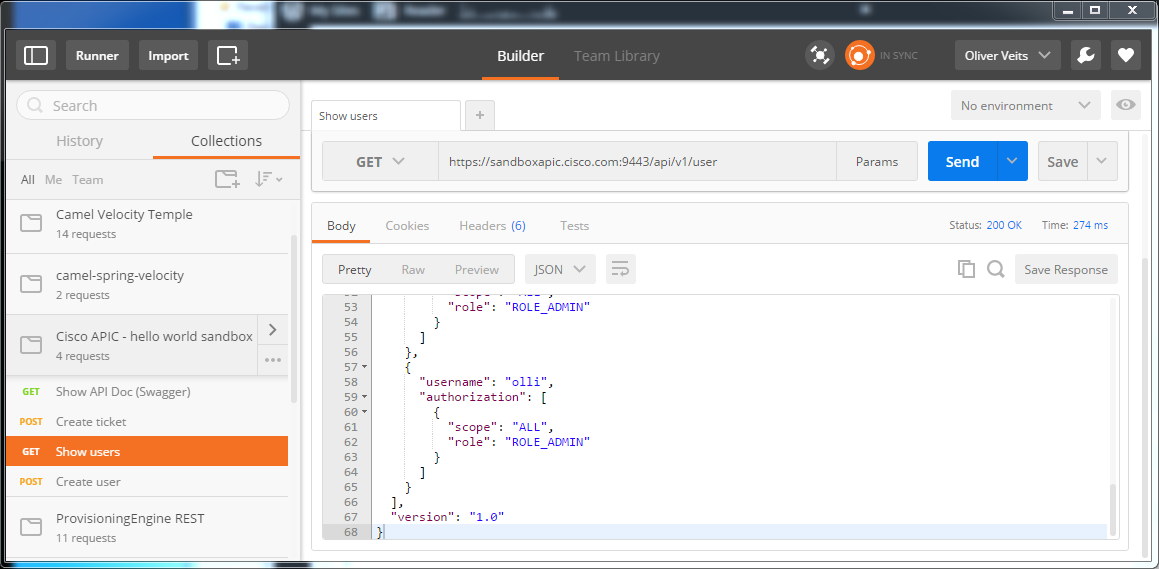
And yes: the user can be seen with a GET /user request as above:
The password seems to be saved more securely elsewhere.
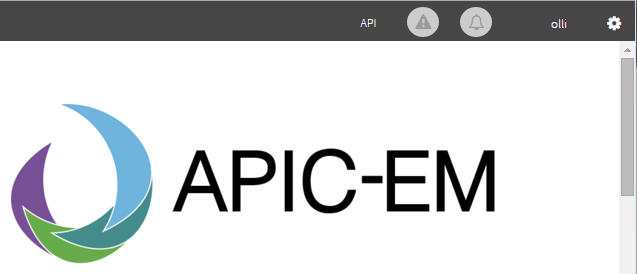
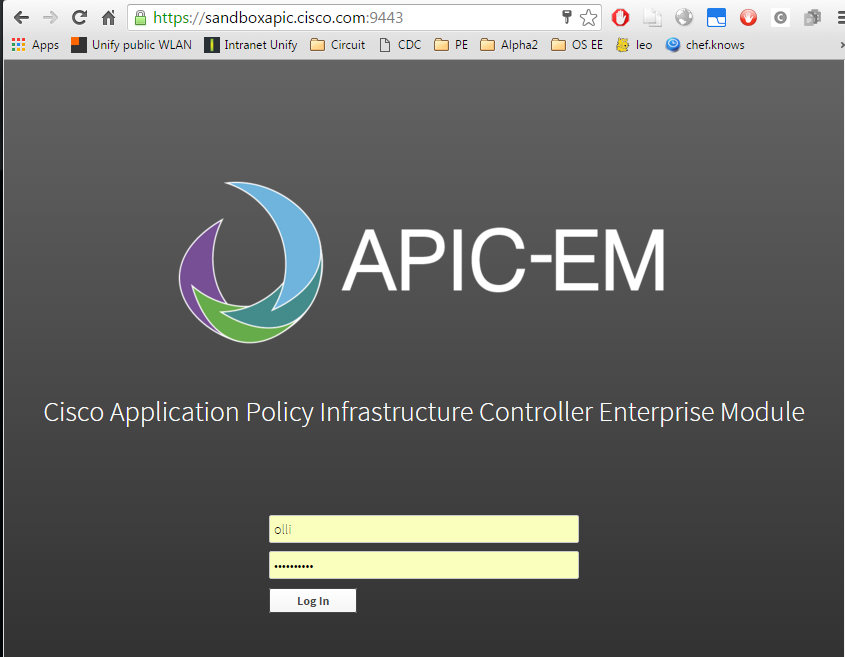
Now, I can log into APIC portal as user „olli“:
Read single User: GET /user/{name}
Now let us read a single user. This is not straightforward, since the API developers have chosen not to auto-generate and display user IDs. Maybe the username is the ID? Then it needs to be unique. Let us test this first: trying to create a user with the same name:
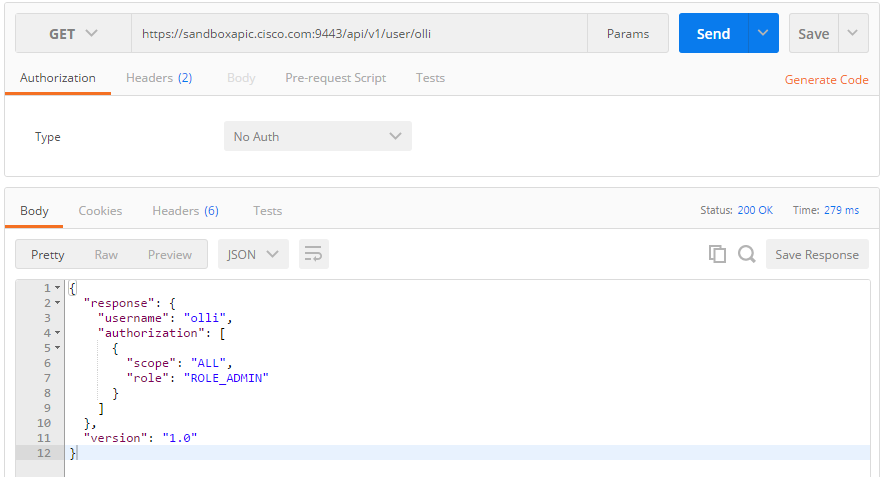
yepp: the username is the unique ID. Following REST semantics, we should be able to read a single user with GET /user/olli:
Works fine.
Update User: PUT /user
The tricky part is to update the user. From swagger we see that the more obvious syntax
PUT /user/{id}is not supported. We are required to issue the command
PUT /user
without ID, and the ID is specified in the body. This is not following REST API best practices and will be discussed after the Summary.
Even if I use the right syntax PUT /user, I am not allowed to change the password of user „olli“ when using an authentication token (ticket) that has been created by the admin:
Password change via the REST API is supported only, if you log in as the user in question. Therefore I need to get a new ticket (token) for user olli instead:
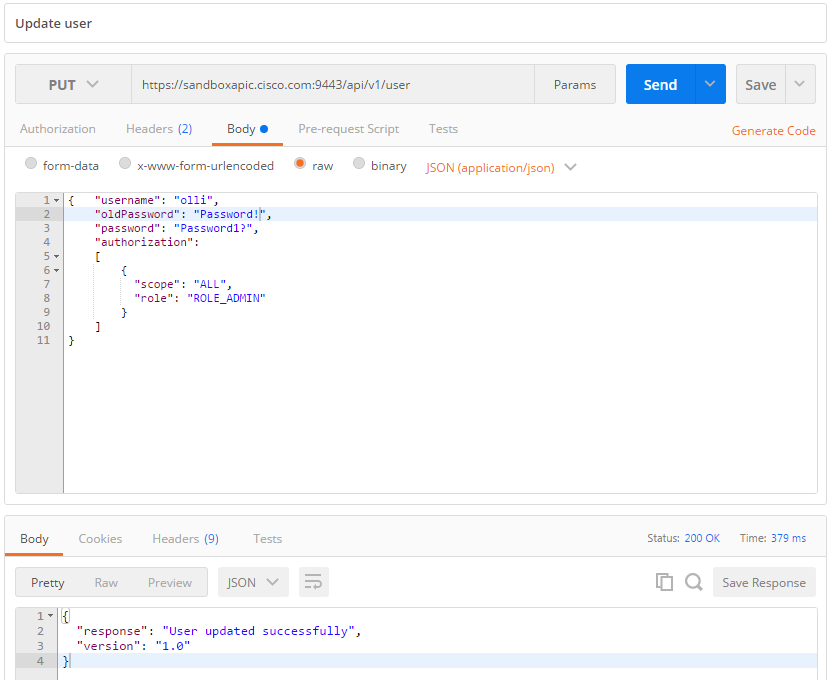
And now we can use the serviceTicket as an authentication token in the update user command:
Note: you need to remove the /olli part from the URL above!
Now the update works:
Yesss! That was not easy. I have removed my first unsuccessful attempts, where I had tried with the URL /user/olli in order to simplify the post and in order to not confuse you.
Now I can log in to the APIC-EM portal using the updated password:
Delete user: DELETE /user/{name}
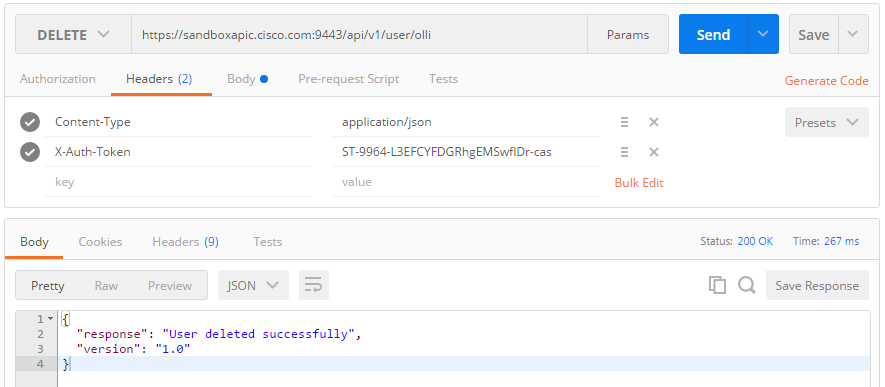
With the ticket (token) of the admin (again), it is easy to delete the entry via DELETE /user/olli:
Note: we have got a 200 OK upon a DELETE request, which indicates that it has been deleted immediately and that the response body is not empty. For asynchronous processing, 202 would have been the right answer HTTP code and for a successful deletion without response body, code 204 is used. See Section 9 of RFC2616.
As expected, after the deletion us user „olli“, a GET /user/olli then leads to „404 Not Found“ error:
Discovering the Network
We did not start playing around with Cisco APIC in order to manipulate users, did we? Let us get into the real stuff: discovering and manipulating networks.
Read network discoveries: GET /discovery/{startIndex}/{recordsToReturn}
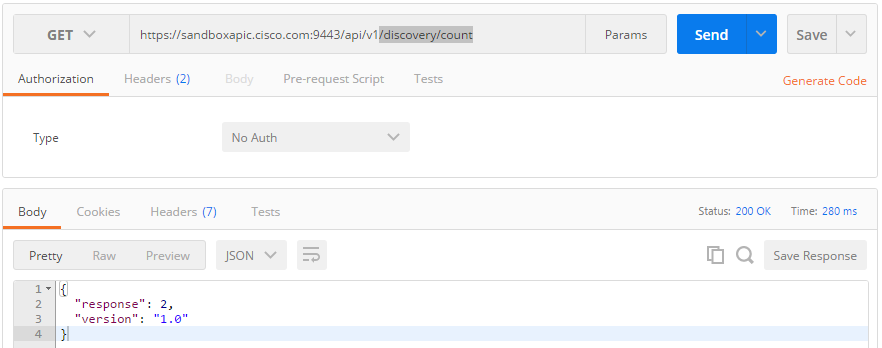
When I understand it right, I can manipulate network discovery tasks on /discovery. Two network discovery tasks have already been conducted:
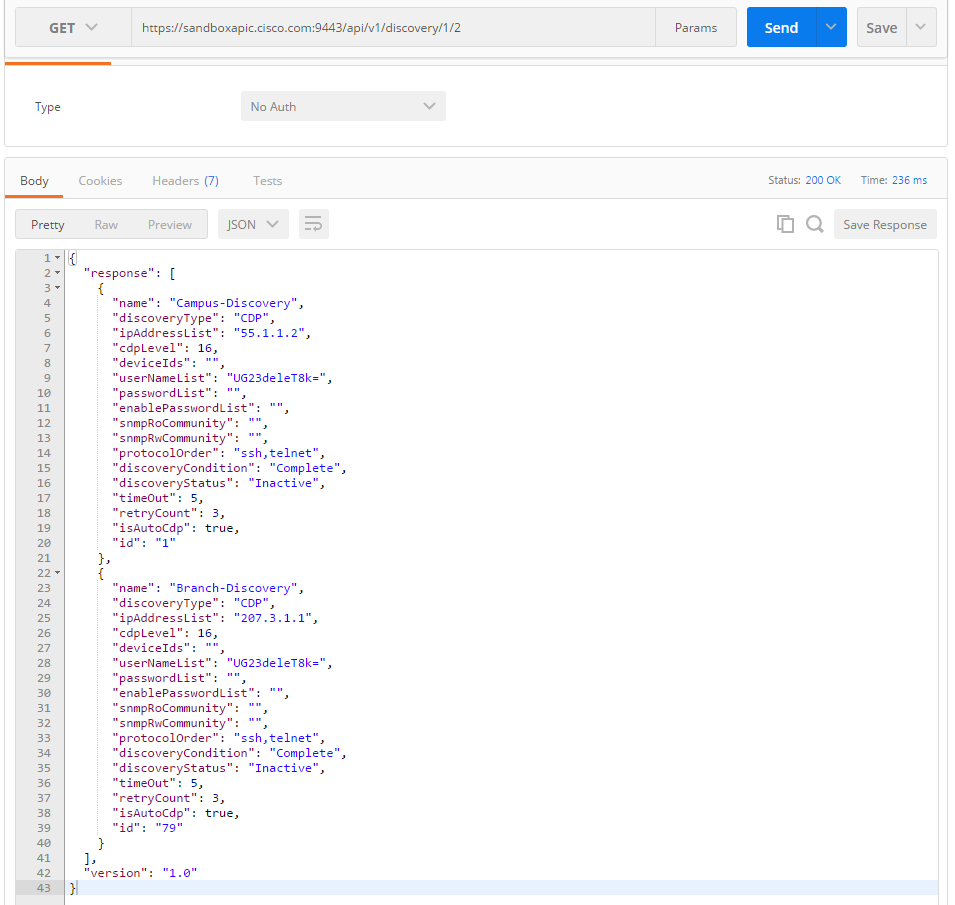
What is missing in the interface, is a GET /discovery to return a list of all discoveries. The only request, which seems to come close is
GET /discovery/{startIndex}/{recordsToReturn}Yes, GET /discovery/1/2 was, what I was looking for. Also GET /discovery/1/500 works fine, and comes close to GET /discovery I was looking for. Note that 500 seems to be the largest possible value: GET /discovery/1/501 fails with following error message:
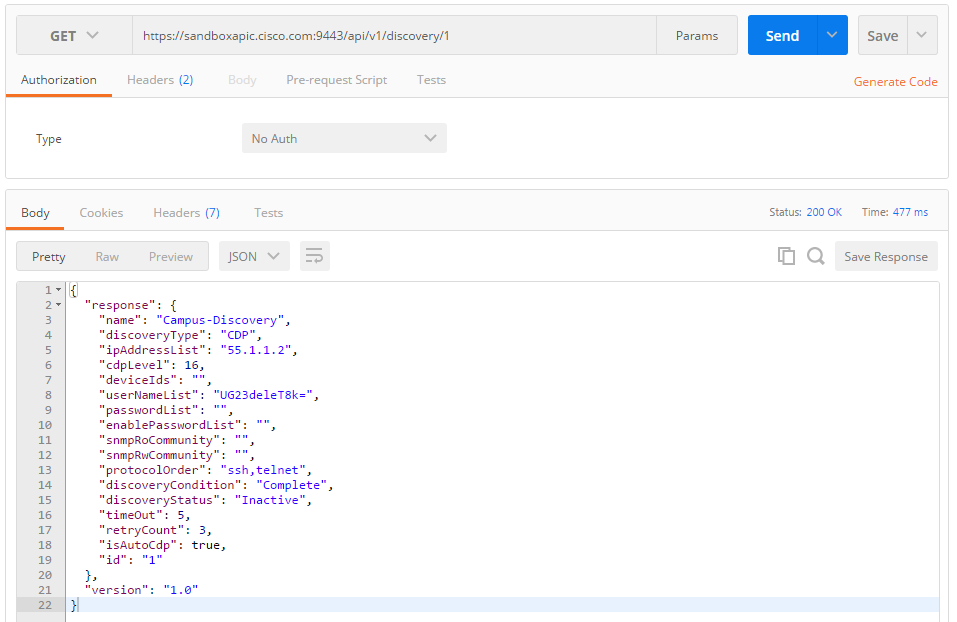
Unlike user objects, discovery objects have explicit IDs. Those are the IDs you need to use, if you want to manipulate a single discovery.
Read single network discoveriy: GET /discovery/{id}
Let us read a single discovery with ID=1: GET /discovery/1
I guess, you need to run a discovery first, which will populate the database with all network-devices, links, hosts, policies, etc. After that, the network-devices can be manipulated.
TODO: clear the network database, run a discovery and observe, what happens.
But for now, let us review the existing data in the network topology database.
Collecting Network Device Info
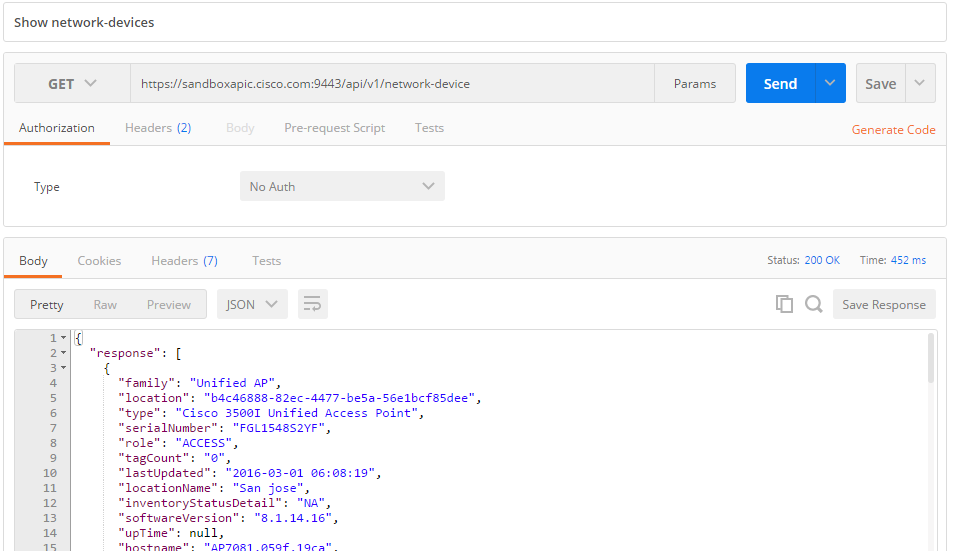
Read network device info: GET /network-device
Let us look for network-devices: with GET /network-device, we get a list of devices:
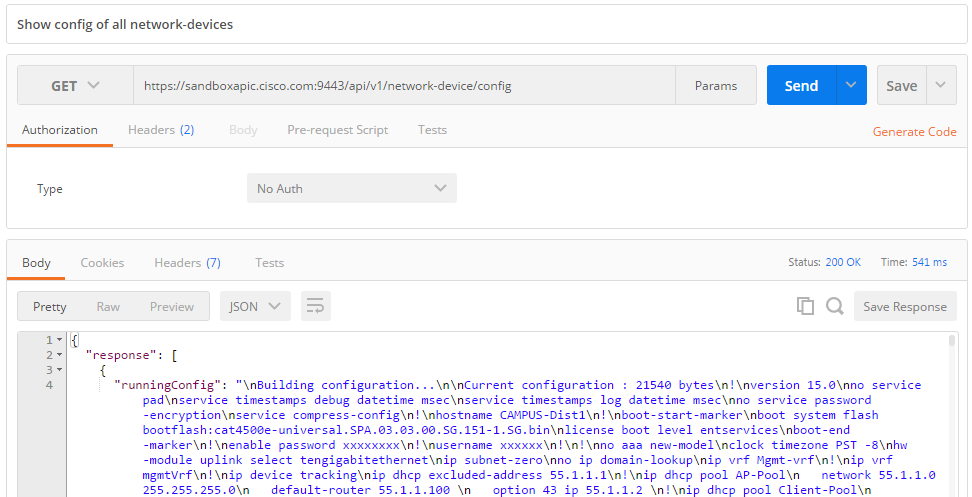
Read running-config of network devices: GET /network-device/config
That is interesting as well: we can retrieve the configuration of all known network-devices with a GET /network-device/config:
The id of the network device can be found if we scroll down:
However, the config cannot be changed: there is no POST or PUT command defined for /network-device/config:
Summary
Cisco Application Policy Infrastructure Controller is a software based centralized provisioning system for networks running on Linux Ubuntu that provides administrators with the possibility to manage network policies (Security ACLs, QoS) from a central point using a modern RESTful interface. The software can run on either on physical hardware or on a VMware VM (ESXi V5.1 or 5.5). The resource needs are too challenging to be run on a developer’s notebook: 6 cores and 64 GB RAM (see release notes). However, Cisco offers Cloud based development sandboxes on DevNet. See here a catalog of APIC labs.
Using such a sandbox, we have demonstrated the usage of the north-bound REST API of Cisco APIC (= Application Policy Infrastructure Controller), a controller for automatic provisioning of Cisco based networks. For that, we have used a DevNet sandbox (registration required), a Cisco-hosted lab for developers. We have used the simplest species of those labs that is based on a pre-populated database with no real target network behind (southbound). We have demonstrated on how to
- browse the API documentation
- get an authentication token
- show or manipulate
- APIC users
- network discovery tasks
- network devices
- and network device running-configs (read only)
The Cisco APIC offers many more features, which were not yet explored here. Among others, policies can be manipulated.
If you need to download the SW, it can be found via this DevNet page (use IE or Firefox; since Chrome is not supported; click on „3“).
Appendix: Does the Cisco APIC REST API follow REST best practice?
During the hands-on lab, we have observed that the Cisco APIC REST API does not follow REST best practices (another article on REST best practice can be found here):
- the API is using singular nouns like GET /user for getting a collection of users
- the API is not very consequent with the assignment of unique IDs:
- for users, the name is used as ID
- for network devices, UUIDs are used as IDs
- for discoveries, incremented numbers 1,2, … are used as IDs
- the syntax of the API for reading a collection depends on the object type:
- for users: GET /user will display all defined users.
- for discoveries: GET /discovery is not defined. Instead, only a paginated version of the command is supported: GET/discovery/{offset}/{number} will return up to 500 entries, starting with entry #{offset}.
- I rate it as inconvenient that GET /discovery is not defined. I deem the developers will have had their reasons; maybe this is a measure to avoid too long answers or to limit the performance required by the requests?
- pagination is a nice feature, especially, if used for GUI display. However, I personally like a more verbose syntax better: e.g. GET/discovery/pagination/offset/{offset}/limit/{limit} or GET/discovery?pagination=yes&offset={offset}&limit={limit}.
- If an API offers pagination, it should do so with all objects. However, GET /discovery/1/500 is defined, but GET /user/1/500 leads to an error. On the other hand, GET /user is defined, but GET /discovery leads to an error.
- The syntax for updating an entry is counter-intuitive and does not follow REST API best practices (IMO):
- a single user can be read with GET /user/{id}, where the user name is used as ID. Following REST best practice, the same resource can be updated with a PUT /user/{id}. However, the developers have chosen that the syntax is PUT /user without ID, while the user ID is specified in the body. This makes sense only for batch bulk update of all users. However, the body contains a single entry only instead of a a list of entries.
Those are little inconveniences, we can live with, though.
